She Makes and Bakes
  • Home
  • About
  • Ramblings
  • Recipe Index
  • What We're Eating
  • High-Altitude Baking

Apple Streusel Pie

11/12/2012

 
Picture
The first time I ever made an apple pie, it didn't go so well. I think I cheated and used a pre-made crust, but I spent a lot of time peeling, coring, and slicing apples. I put it all together and was excited about how amazing it smelled. And then I cut into it and found that there was a pool inside my pie. All of the apple slices were hanging out in a crazy amount of delicious-smelling liquid. Mocking me. I hate kitchen failures, but I really hate baking failures. So I didn't give up but I did get smart and take a pie class at a local cooking school.

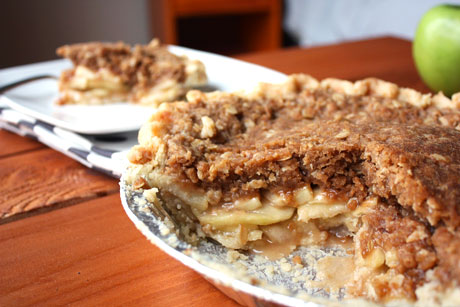
While the class was great and taught me a lot (and boy did I have a lot of questions for that poor instructor), the pie crust recipe never worked outside of the class. I hate that. However, I got the recipe for this amazing apple streusel pie, and this alone made the price of the class well worth it. If you like apple pie, brown sugar, and oatmeal cookies, you will love this pie. Like shove it in your face love it. Essentially it is a thick brown sugar oatmeal cookie on top of an apple pie. I swoon. I had to get this pie out of my house because I had resigned myself that I would eat the entire thing, fork by fork, until it was gone. I figured it would take me a week or so, but I knew I could and would do it. I had zero will power when it came to this pie. So when my parents called looking for a dessert, I happily told them they could eat the rest of my pie. Let them test their will power! I highly recommend you make this for Thanksgiving and Christmas and every other time of year when the calling for pie hits because this one is absolutely incredible.

Apple Streusel Pie Recipe
Print this recipe

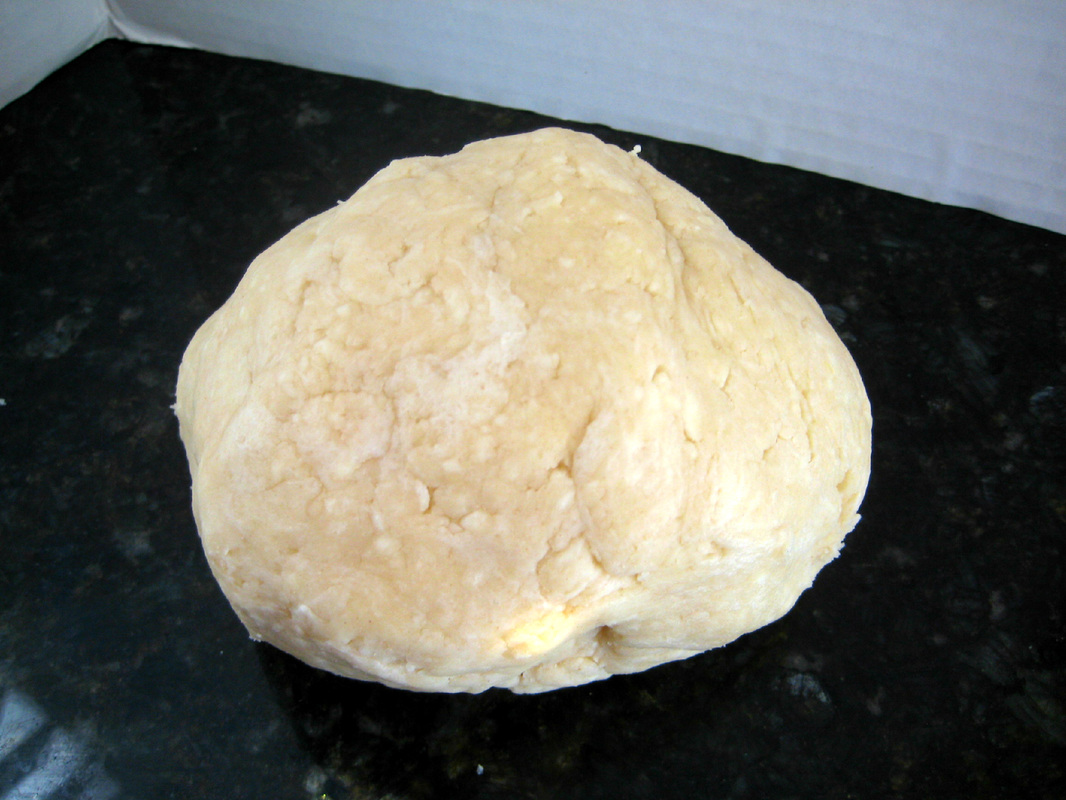
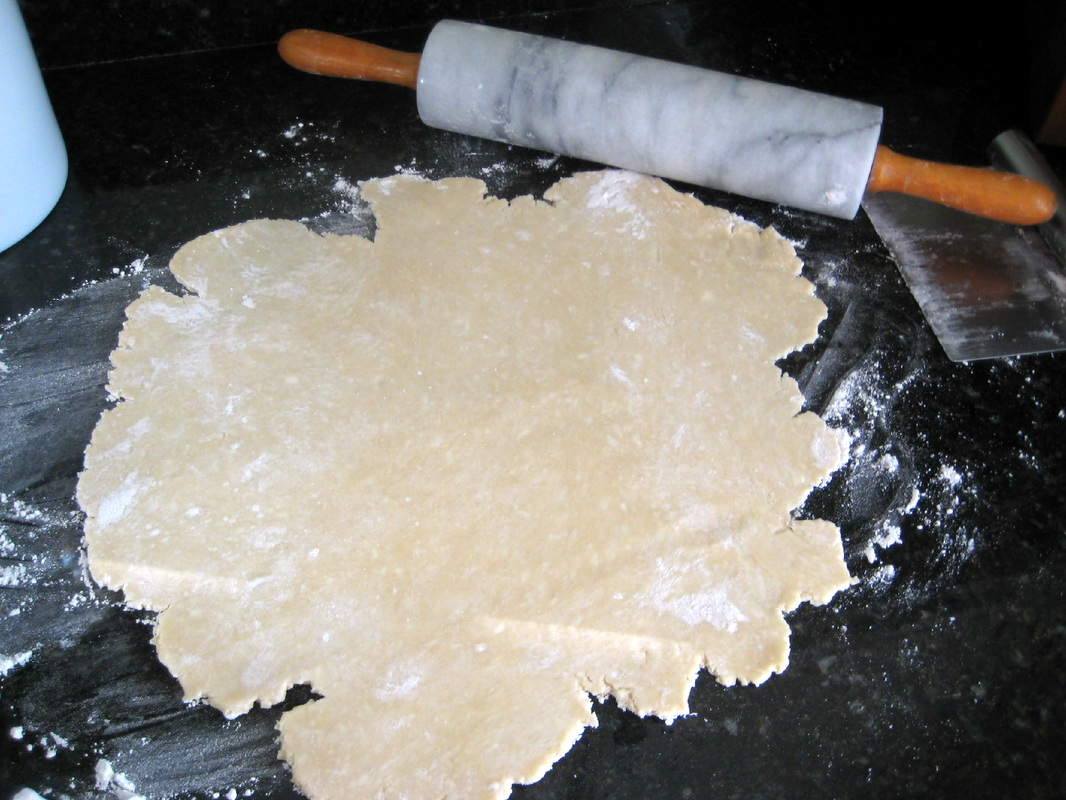
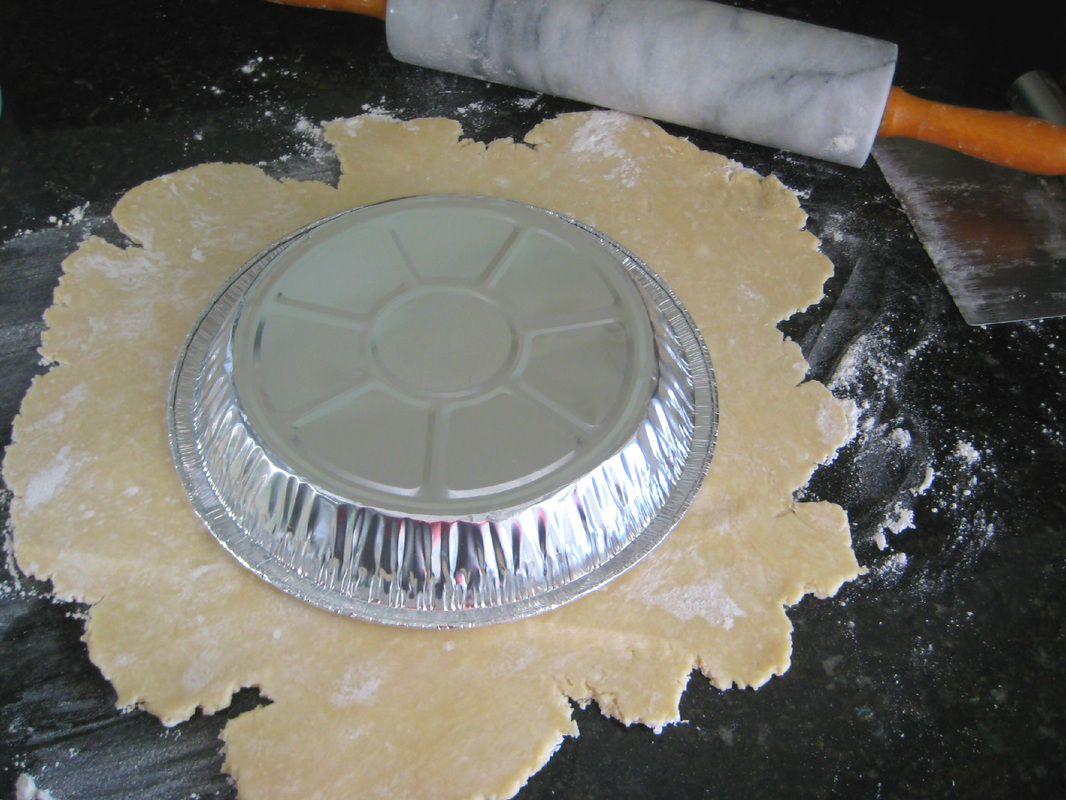
1 9-inch pie crust, unbaked

For the filling:
3-4 cups Granny Smith apples, peeled, cored, and sliced (about 3 apples)
1/3 cup sugar
1 1/2 teaspoon cornstarch
1/2 teaspoon cinnamon
1 1/2 teaspoon lemon juice
1 tablespoon butter, melted

For the streusel topping:
1 cup flour
1/2 cup oats
1 cup brown sugar, packed
1 1/2 teaspoon cinnamon
Pinch of nutmeg
1/2 teaspoon salt
12 tablespoons butter, cold (1 1/2 sticks)

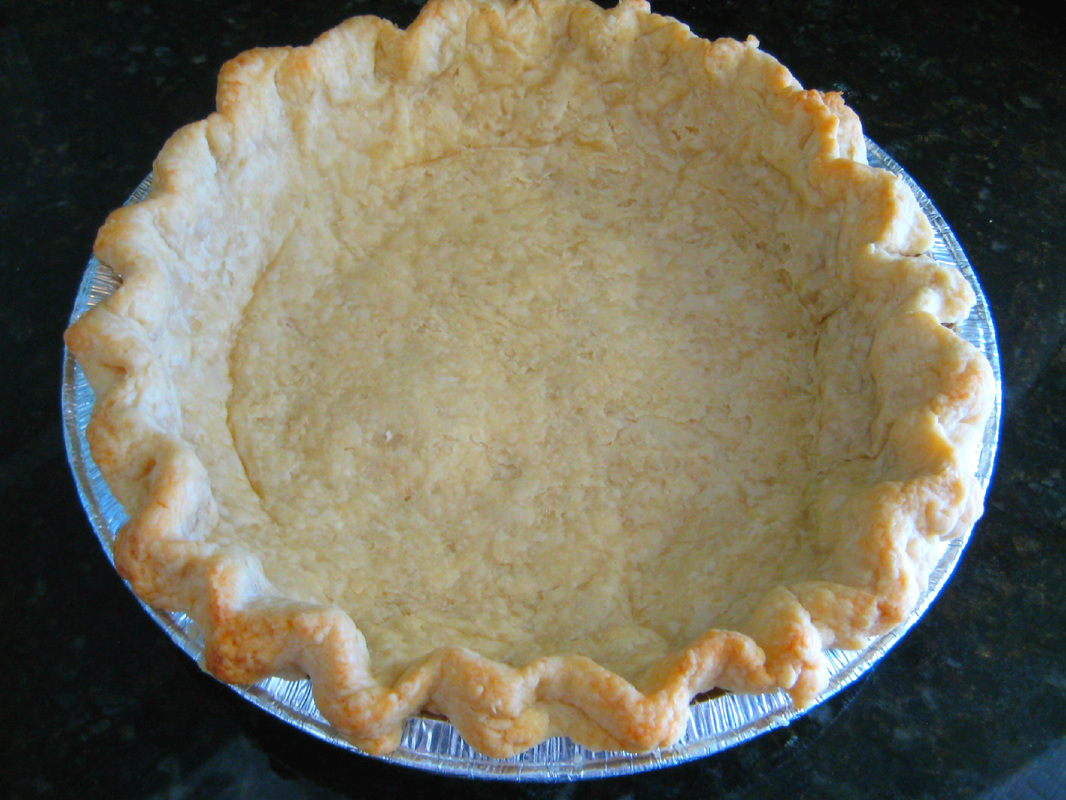
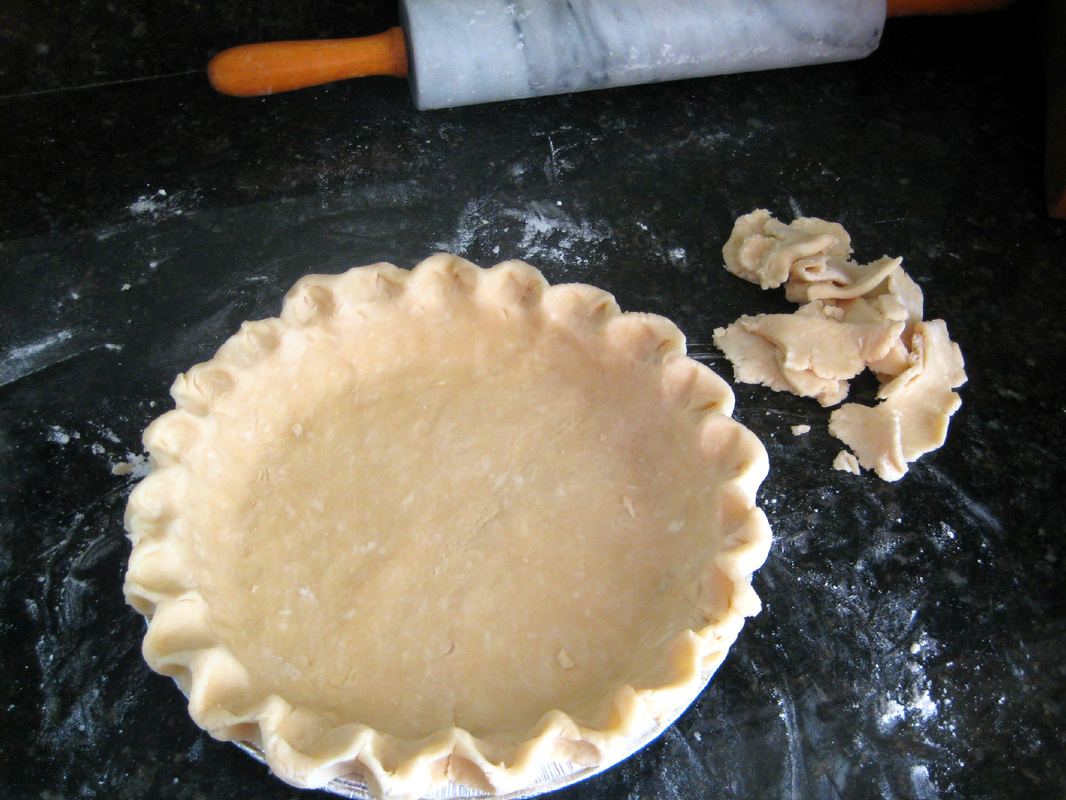
Press the pie crust into the pie plate and crimp the edges.

Preheat your oven to 350 degrees and move a rack to the lower third of your oven. This should keep the pie crust from browning too rapidly.

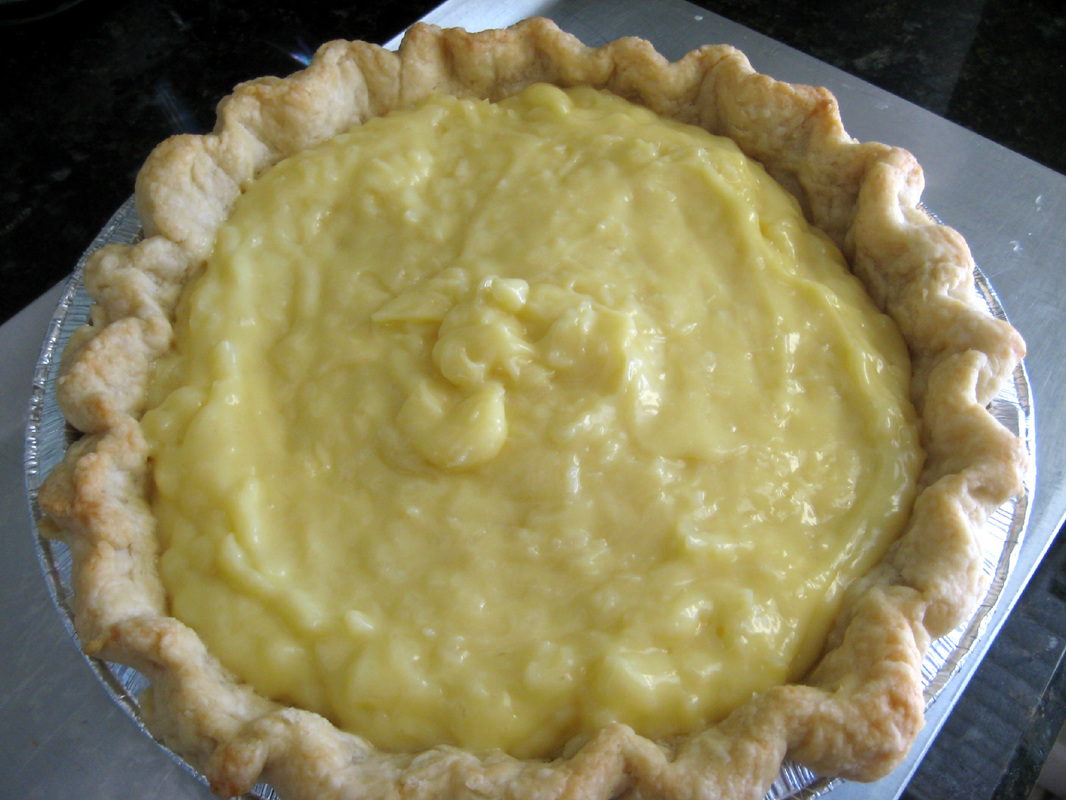
In a large bowl, stir together the sugar, cornstarch, and cinnamon. Add the apples and toss to coat. Drizzle the lemon juice and melted butter on top of the apples and stir until coated. Spoon into the prepared pie crust.
 
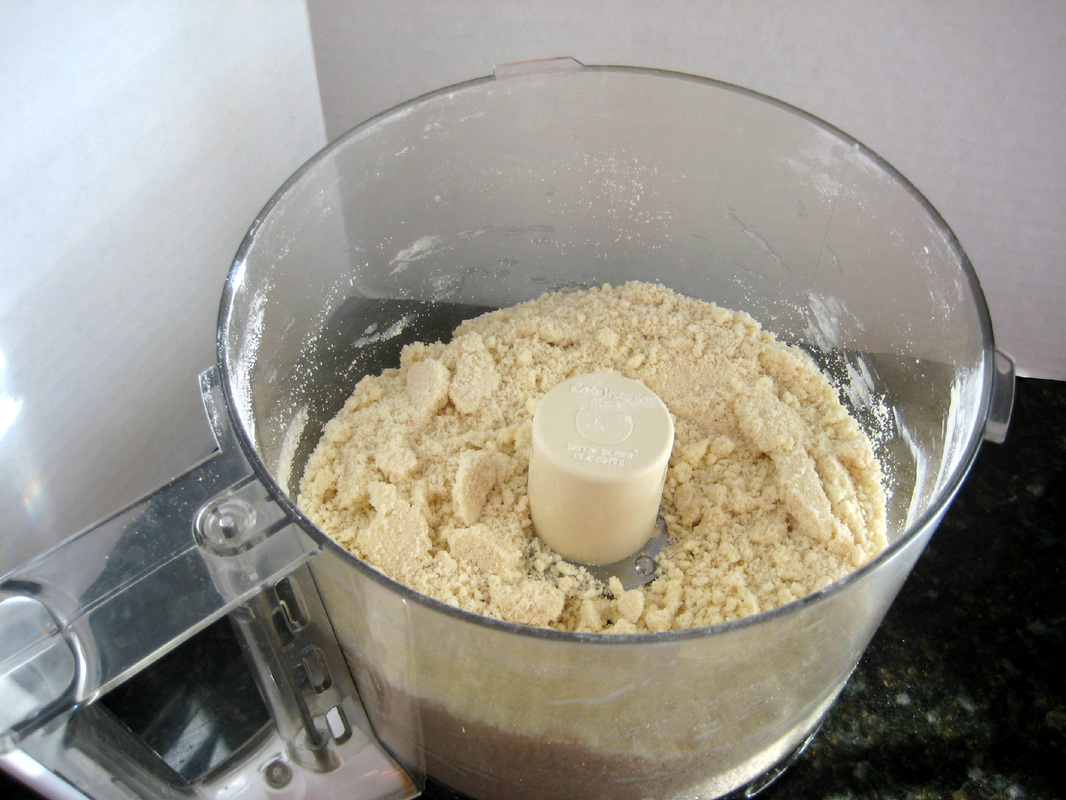
To make the streusel topping, mix together the flour, oats, brown sugar, cinnamon, nutmeg, and salt. Use a pastry blender or fork to cut the cold butter into the brown sugar mixture until it resembles coarse crumbs. Pour this mixture on top of the apples, making sure it goes all the way to the crust. It's a lot of topping, but you'll want to use all of it.  

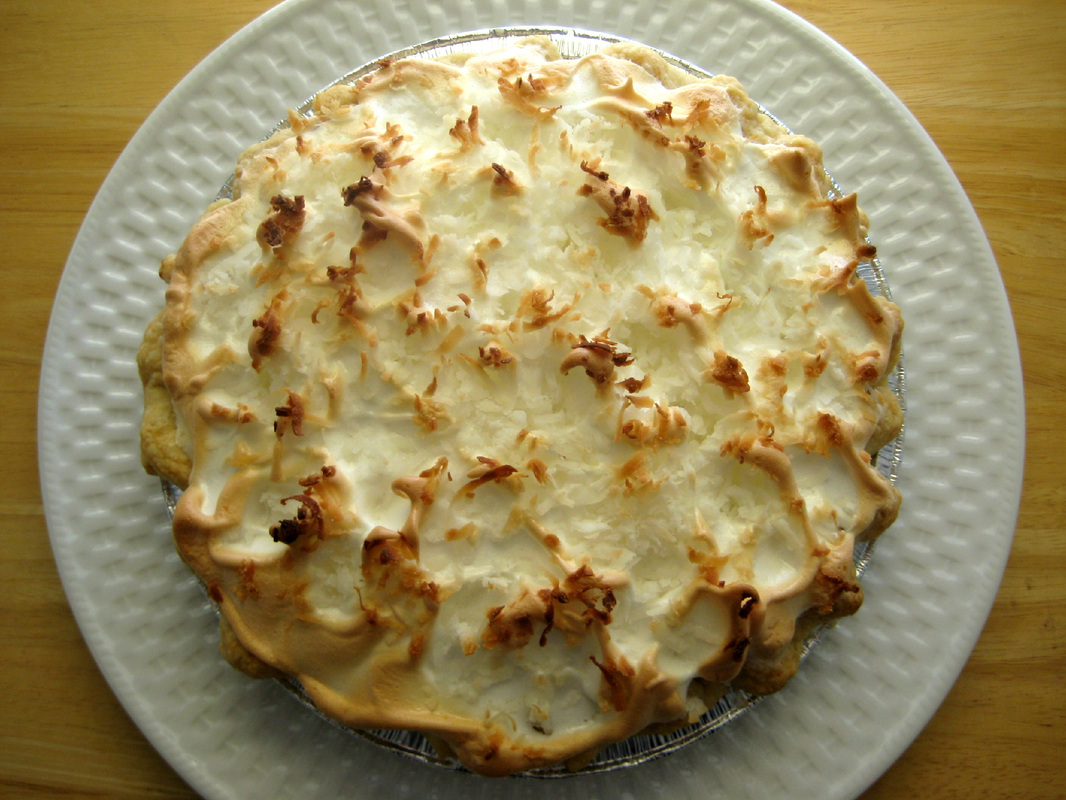
Bake for 50-60 minutes or until the pie is bubbly around the edges. Check the pie halfway through to ensure the crust isn't getting too brown on the top. If it is, cover it loosely with foil. Let cool before serving.  

Recipe from Kitchen Table Cooking School
Picture

Maple Cream Meringue Pie

10/14/2012

 
Picture
Well I'm halfway through my France trip. Even though I didn't get to see much of it because I was working so much, Lyon is a great city. Today we left Lyon and took the high-speed train to Paris. My first time traveling by train...pretty neat. It was raining in Paris today, so I did a little exploring but still haven't seen any of the main sights. We're staying in the Art District, which seems nice. Lots of things to do, and there are a lot of restaurants here. My dad arrives in the morning, and my parents and I will spend the rest of the week exploring Paris. We have a cooking class scheduled for Thursday, so I'm very excited about that.

And now back to the food. If you like sweet desserts, this is the one for you. My coworkers must like sweet desserts because this pie was devoured. Pretty quickly. While I'm not a fan of coconut cream pie, I do like banana cream and now I like maple cream. But I was never much of a pie person growing up...other than pumpkin pie. I could eat an entire pumpkin pie over the course of a week during Thanksgiving. It was my favorite part of the meal. A couple of years ago, I made a banana cream pie with a vanilla wafer crust, and I've been experimenting with pies ever since. This maple cream pie is a great addition to my arsenal. It has such great maple flavor. I know Thanksgiving is still a long ways off, but if you're looking for something new, I highly recommend this one. As does everyone in my office!

Maple Cream Meringue Pie Recipe
Print this recipe

1 9-inch pie crust, baked

For the maple cream:
2 tablespoons cornstarch
1/4 cup water
1 cup maple syrup
1 cup heavy whipping cream
2 egg yolks, lightly beaten
3 tablespoons butter

For the meringue:
3 eggs whites
1/2 teaspoon vanilla
1/4 teaspoon cream of tartar
6 tablespoons sugar

Preheat your oven to 350 degrees.

In a small saucepan, combine the cornstarch and water until smooth. Mix in the syrup and cream and cook over medium-high heat while stirring until thickened and bubbly. Reduce the heat to medium and cook for 2 minutes while stirring. Remove from heat. Stir a small amount of the hot filling into the egg yolks and then whisk that back into the pan. Bring to a gentle boil and cook while stirring for two more minutes. Remove from the heat, pour it into a fine mesh strainer to catch any cooked eggs, and then add the butter into the strained mixture. Stir until the butter is melted. Pour into the baked pie crust.

In a large bowl, beat the egg whites, cream of tartar, and vanilla on medium-high speed using the whisk attachment until soft peaks form. Slowly add the sugar, one tablespoon at a time, on high speed until stiff glossy peaks form and the sugar is dissolved. Spread this over the hot filling, making sure that the meringue seals to the crust.

Bake for 12-15 minutes until the meringue is golden brown. Cool for one hour and refrigerate for at least 3 hours before serving. Store in the fridge.
 
Source: Taste of Home Fall Baking Cookbook
Picture

PPQ: Cream Cheese Peach Tart

8/6/2012

 
Picture
I had every intention of posting this recipe on Sunday, but I just couldn't gather the wherewithal to do it after participating in my second triathlon. I was so tired yesterday, and today I'm so incredibly sore. I'm waddling around at work today. Yikes!

Therefore, this week's Project Pastry Queen post is late, but it's still good. We're down to the final four weeks, and I'm excited about these last recipes. This tart was picked by Emily of A Gilt Nutmeg. I have to say that it's not my personal favorite, but the hubs liked it, which was surprising. I took it to work today and had some rave reviews from coworkers. I was expecting a little more of a cheesecake-like filling, and it's more firm than that. It does has great flavor with the cream cheese, mascarpone, peaches, and cinnamon, and it's really pretty. Plus it's not super sweet (which could explain why I didn't like it as much and my husband liked it a lot). I made a few changes to the original recipe:
1. I used a different tart crust recipe (which wasn't that great so I'm not going to share it) because I have an eleven-inch tart pan.
2. Instead of using 5-6 peaches cut in half and scored, I used three peaches cut into slices. 
3. I left the peels on the peaches because I'm lazy.
 
Otherwise I made the recipe exactly as is. If I make it again, I would play around with the filling to make it a little less dense. Maybe one less egg or substitute it out for an actual cheesecake? Now that would be over the top! I realize I haven't exactly sold this recipe, but let me stress that other people absolutely loved it. Be sure to check out Emily's page for the full recipe and the Project Pastry Queen website for everyone's take on it. Next week I'm dishing up some peach kolache (on time)...and let me tell you, it's pretty tasty! Peach season is here friends!    
Picture

PPQ: Blueberry Pie Bars

7/15/2012

 
Picture
This week's Project Pastry Queen was picked by Amanda of Homekeeping Adventures: Blackberry Pie Bars. I'm not a huge fan of blackberries so I was thinking about what kind of berries to put in them when I went into Sam's Club and saw two pounds of blueberries for $5. Sold! In true form of The Pastry Queen, these bars were delicious. Soft, buttery, and a little tangy from the sour cream. You could adapt these in a variety of ways...different berries, nuts, chocolate. I love the buttery crust on top and bottom, and I know that I'll be making these again since they are easy to make (much easier than pie). I think these would be great on a road trip or picnic when you want something sweet and portable. Be sure to check out the Project Pastry Queen website to see everyone's take on the recipe and check out Amanda's page for the recipe.
Picture

Strawberry Cheesecake Pie

7/10/2012

 
Picture
Fresh strawberries. Chocolate. Cheesecake. Pie crust. Need I say more? This is the first time I've made this pie, and I absolutely love it. Not only is it beautiful, but it's easy and tasty. The pie crust is brushed with melted semisweet chocolate that hardens and offsets the sweetness of the strawberries. The cheesecake-ish filling is sweet but not too sweet and provides a great tang. The combination of flavors is incredible. Did I mention that other than baking the pie crust, you don't have to turn on your oven? Perfection.

As an added bonus, I used light sour cream and fat free cream cheese with great results. Since I make so many desserts, it's great when I can lighten things up without sacrificing taste or texture. Let's just say there were three people eating this, and we killed almost three-quarters of it in one sitting. The only mistake I made was that I pulled it out of the fridge about an hour before serving. Don't be like me because the cheesecake part got soft and runny. It's much better to serve it cold, straight out of the fridge. This pie takes a bit of time, but a lot of it is inactive time waiting for it to chill and set in the fridge.  

Strawberry Cheesecake Pie Recipe
Makes one 9-inch pie
Print this recipe

One 9-inch pie crust, baked
3 ounces semisweet chocolate
1 tablespoon butter
6 ounces cream cheese
1/2 cup sour cream
3 tablespoons sugar
1/2 teaspoon vanilla
3-4 cups strawberries, hulled
1/3 cup strawberry jam, melted

In a small saucepan or microwavable bowl, slowly melt 2 ounces of chocolate and the butter, stirring frequently. Spread this over the bottom of the baked pie crust. Chill until hard.

In a mixing bowl, beat the sour cream, cream cheese, sugar, and vanilla until smooth. This works best with an electric mixer. Spread this over the chilled chocolate layer. Cover and chill in the refrigerator for 2 hours.

Arrange the hulled strawberries on top of the filling. Brush the melted strawberry jam on top of the strawberries. Melt the remaining 1 ounce of chocolate and drizzle it on top of the berries.

Source: Taste of Home Winning Recipes Cookbook
Picture

Happy Pi Day: Coconut Cream Pie

3/14/2012

 
Picture
Did you know that today is Pi day? March 14 or 3.14159265358979... I remember learning about Pi in high school, but there was never any pie associated with it. I guess Pi day is a bonus of being a food blogger!

My dad’s favorite pie is coconut cream. Occasionally, he’s been known to make more than one in a week if the craving strikes. This pie does take a few steps, but it’s well worth it. I'd say it only takes about 45 minutes to assemble the pie. First you cook the pie crust, then you make the cream, next you make the meringue to top it, and finally you bake it for a few minutes to brown the meringue. There’s a good reason it’s my dad’s favorite though. It's very tasty.

You'll need a prebaked pie crust to start.

A few notes: 

Once you have your cooked cream, you'll want to strain this mixture through a fine mesh strainer.
Picture
Unless you are amazing at tempering your eggs (and maybe even if you are), you should strain anything with cooked eggs to trap any egg pieces. If you don’t do this, your cream could taste like egg, and that is not what it should taste like. Please, please strain any homemade puddings, creams, custards, etc. You'll thank me when they don't taste like egg.
Picture
Once you have the strained mixture, add the butter and vanilla and stir until melted. Then add in your coconut and mix and pour into your baked pie crust.
Picture
To make the meringue:
In a stand mixer or with a hand mixer, beat egg whites and cream of tartar on medium high speed until soft peaks form. Add sugar one tablespoon at a time until sugar is dissolved and stiff peaks form, like this:
Picture
Coconut Cream
Print this recipe
2/3 cup sugar
1/4 cup cornstarch
1/4 teaspoon salt
2 cups milk
3 egg yolks, lightly beaten (reserve whites for meringue)
1 cup flaked coconut
2 tablespoons butter
1 tablespoon vanilla
1 baked pie crust

In a saucepan, mix together sugar, cornstarch, and salt. Add milk and whisk till smooth. Place pan over medium high heat and cook, stirring, until it starts to bubble and thickens. Off the heat, pour a little mixture slowly into your eggs while stirring, then add the hot eggs to the pan (this is tempering your eggs). Bring to a small boil and cook, stirring, for 2 minutes. Strain this mixture through a fine mesh strainer. Add the butter and vanilla and stir until melted. Then add in your coconut, stir, and pour into your baked pie crust.

Meringue
3 egg whites
1/4 teaspoon cream of tartar
6 tablespoons sugar
1/4-1/2 cup flaked coconut

In a stand mixer or with a hand mixer, beat egg whites and cream of tartar on medium high speed until soft peaks form. Add sugar one tablespoon at a time until sugar is dissolved and stiff peaks form.

Spread the meringue evenly over filling and seal onto the pie crust edges. Form peaks by lifting a spoon in the meringue. Sprinkle the coconut on top. 

Bake at 350 degrees for 12-15 minutes until browned. Cool on a wire rack for 1 hour and refrigerate for at least 3 hours before serving.


Source: Barely adapted from Taste of Home
Picture
Pin It

Easy Pie Crust

2/28/2012

 
Picture
Why is pie crust so hard to make? You would think that with so few ingredients, it would be as easy as…pie. I have tried so many different recipes and even took a pie class. When we made the pies at the class using the pre-measured ingredients they had sent out for us, the pie crust was phenomenal. However, when I use that recipe at home, it turns out miserably. It's tough and so frustrating. This recipe, though, will work every time. It’s tender, buttery, and flaky--everything a crust should be. 

I've also tried many recipes that are so difficult to roll out. The recipe says don't add extra flour because your crust will be tough, but then it sticks to your counter. Other recipes say to roll the crust between parchment paper, but the parchment slides around as you're trying to roll it. What a pain! This crust is really easy to roll out, you can add flour to it without damaging the texture, and it's easy to shape into your pie plate.

Here's how easy it is: first you add the flour, sugar, and salt into a food processor. Pulse that together and then add in the cold butter and shortening. I use butter-flavored shortening, but regular will work just fine, too. Pulse it together until it’s in clumps and add in the rest of the flour. Pulse that together until it looks like crumbs. I've never tried with this recipe, but I'm sure you could use a pastry blender or knives if you don't have a food processor.
Picture
Then dump that mixture into a bowl and sprinkle the cold water and cold vodka over it. I bought a small bottle of very cheap vodka and keep it in the freezer just for pie crust so that it's always cold when I need it. Using your hands, gather the dough together into a ball. You want to dough to stay cold, so don't work with it too much. Then wrap it in plastic and chill in the fridge for at least 45 minutes. When I was making this, I was running out of daylight and didn't chill it. It worked just fine, but it's best to have very cold dough.
Picture
The purpose of the vodka in this recipe is that it gives you more moisture when you're rolling it out. Therefore, you can use more flour to roll out the crust and keep it from sticking to everything. The vodka vaporizes during baking, leaving you with a perfect and alcohol-free crust.

When you roll the crust out, you should start from the middle and roll outwards. Then turn the crust and roll from the middle out again. Don't roll back and forth; by turning the crust as you go, you'll help to ensure that it doesn't stick to the counter.  
Picture
You know your crust is big enough when you have a couple of inches extra around the upside down pie plate.
Picture
Lightly fold the dough into quarters or drape the crust over the rolling pin to place it into your pie plate. Then cut or tear off anything that's hanging on the counter, tuck the excess under itself to build up the edge, crimp the edges, and you’re ready to go. See all those extra pieces? That's what was touching the counter that I tore off. I’ll show you a very delicious treat with them in a later post.
Picture
I like to make my crusts the day before I need them so they can chill in the refrigerator overnight. This will help them keep their shape when they bake. I just stick the formed crust in a zippered bag and put it in the coldest part of my fridge. If your pie plate is too big for a zippered bag, just wrap it very well in plastic wrap. If you leave anything exposed, it'll get dry. 

If you need a pre-baked crust in your recipe, here’s how you blind bake it:

Place a piece of aluminum foil over the crust and loosely wrap it around the edges. Then fill it with beans or pie weights.
Picture
Bake it at 375 degrees for 25 minutes. Then take the beans and foil out and continue to bake it for 10 more minutes until it’s lightly browned.

Pie Crust
Print this recipe
Makes 1 pie

1 1/4 cup flour
1 tablespoon sugar
1/2 teaspoon salt
6 tablespoons butter cut into pieces, very cold
1/4 cup vegetable shortening, chilled
2 tablespoons cold water
2 tablespoons cold vodka

Pulse 3/4 cup flour, sugar, and salt in food processor until combined. Add butter and shortening and pulse until it collects in clumps. Add remaining flour and pulse until mixed into crumbs. Empty into a bowl and sprinkle cold water and vodka over it. Gather the dough into a ball. Chill for 45 minutes and then roll out using flour as needed so it doesn't stick to your counter. Place in pie plate, trim excess, tuck under, and form edges. If possible, chill formed crust overnight. 

To blind bake: Place a piece of aluminum foil over the crust and loosely wrap it around the edges. Fill it with beans or pie weights. Bake it at 375 degrees for 25 minutes. Take the beans and foil out and continue to bake for 10 more minutes or until it’s lightly browned. 

Source: The geniuses at Cook’s Illustrated
Pin It

     Welcome!

    Cooking is fun and easy at high altitude, but baking can be frustrating. About 90% of my recipes work everywhere, but some are adjusted so us mountain dwellers can enjoy baked goods from scratch. I hope you find great recipes on here for your family, and I'll let you know if any are adjusted for high altitude. 

    Stay Updated!

    Add to your Reader:

    Get new posts delivered to your inbox:

    Enter your email address:

    Delivered by FeedBurner

    Categories

    All
    Appetizers
    Bars
    Beef
    Bread
    Breakfast
    Brownies
    Cake
    Cheese
    Chicken
    Chocolate
    Cinnamon
    Cookies
    Crackers
    Cupcakes
    Dessert
    Do It Yourself
    Drinks
    Fruit
    Ground Beef
    High Altitude
    How To
    Ice Cream
    Italian
    Main Courses
    Mexican
    Muffins
    Oatmeal
    Pasta
    Pastry
    Pie
    Pizza
    Pork
    Project Pastry Queen
    Pumpkin
    Salad
    Sauces
    Side Dishes
    Snacks
    Soup
    Sourdough
    Steak
    Vegetables

    My featured recipes on NoshOnIt

    Some Good Reads!

    Annie's Eats
    Bake at 350
    Climbing Grier Mountain
    Confections of a Foodie Bride
    How Sweet It Is
    I Am Baker
    Macaroni and Chesecake
    Pinch of Yum
    Pink Parsley
    Smells Like Home
    Smitten Kitchen
    Sunny Side Up
    The Curvy Carrot
    The Marvelous Misadventures of a Foodie
    The Pioneer Woman Cooks
All content copyright 2012-2013 She Makes and Bakes.