
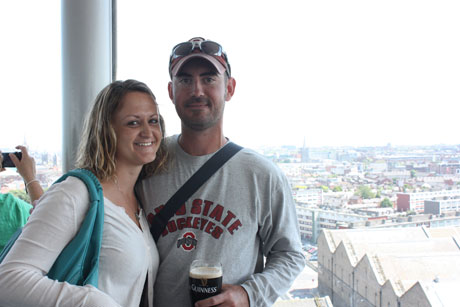
Last June, my husband and I were lucky enough to visit Ireland. Let me just say that if you ever have the opportunity to go, I highly recommend it. Not only is it a beautiful country, but the Irish are some of the nicest people I've ever met. Ever. For example, a taxi driver let us borrow his GPS for a week. The first week when we were in Dublin, he took my husband back and forth from our hotel to various golf courses. So he kind of knew us, but not that well. Certainly not well enough to offer us a fairly expensive electronic. Everyone was so nice and kind and helpful. I plan to go back, and one of the main reasons is because of the people.
The food, unfortunately, is not all that incredible. Irish breakfasts leave a lot of be desired. Every hotel we stayed at had the same breakfast, and by the end of our two weeks we just couldn't choke it down anymore (blood sausage anyone?). I had brought some homemade granola bars and crackers, and we would snack on those instead. Also, I learned that the land of potatoes equals the land of french fries. We got fries with everything. One day I was eating lunch by myself near the prison in Dublin (a tourist attraction by the way), and I ordered a piece of pizza at an Italian restaurant. When they brought it to my table, I was shocked to see it was half of an 8-inch pizza with a side salad and french fries. Mmmkay. I also learned that I am in no way a fan of Irish soda bread. You definitely won't see that recipe on here.
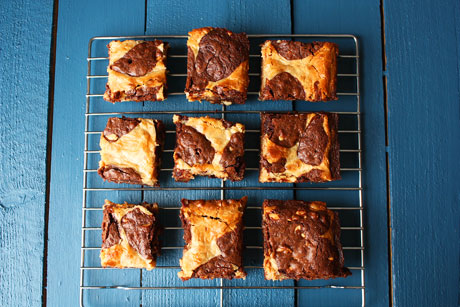
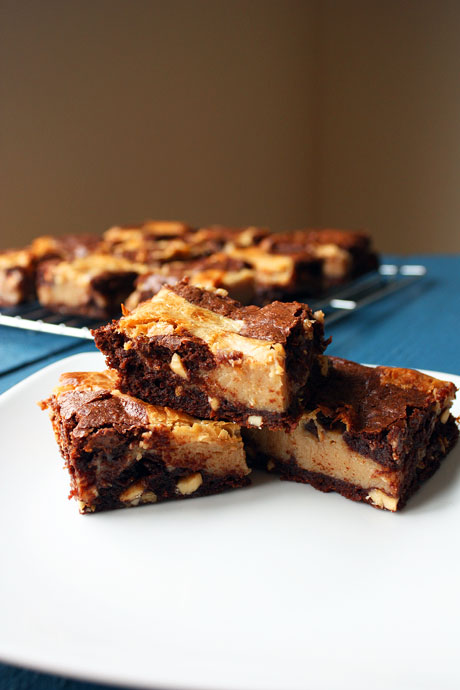
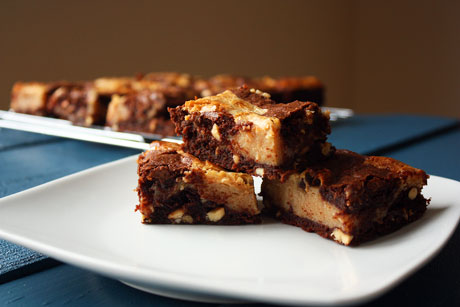
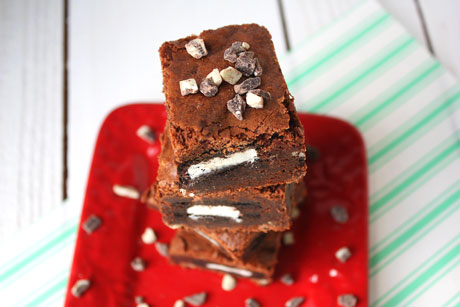
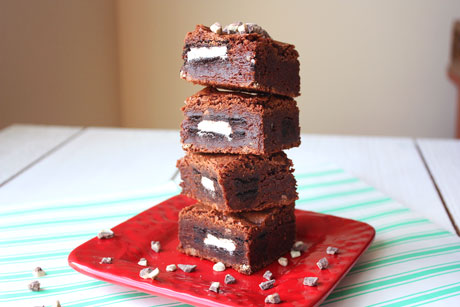
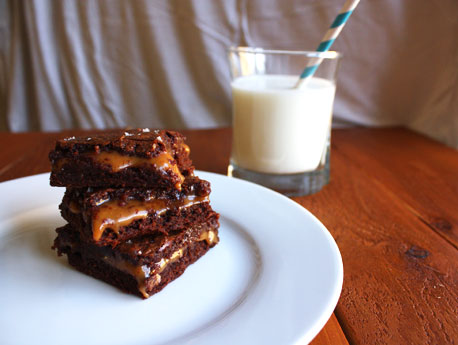
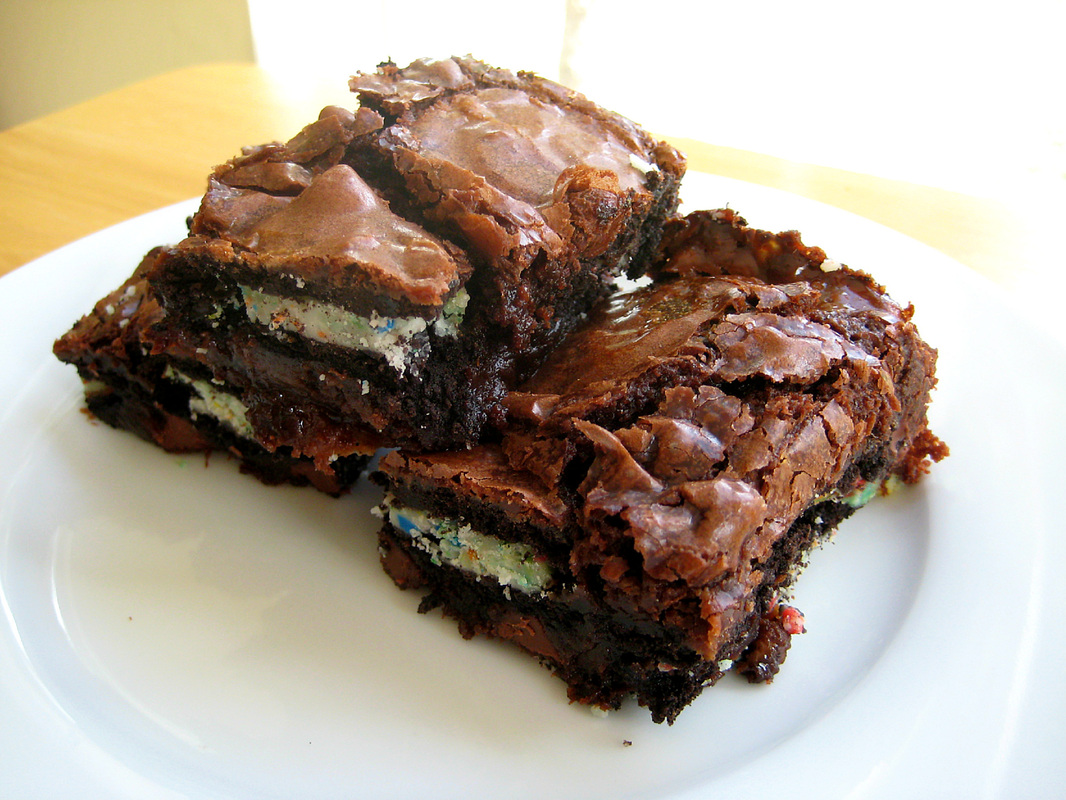
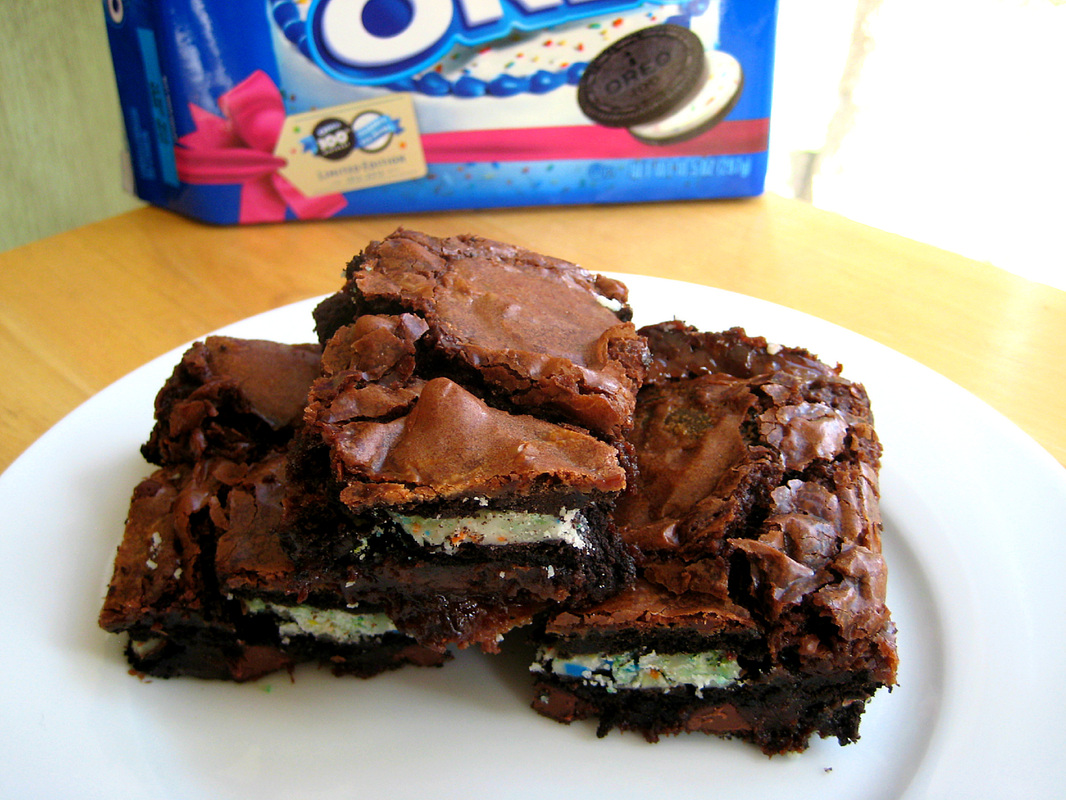
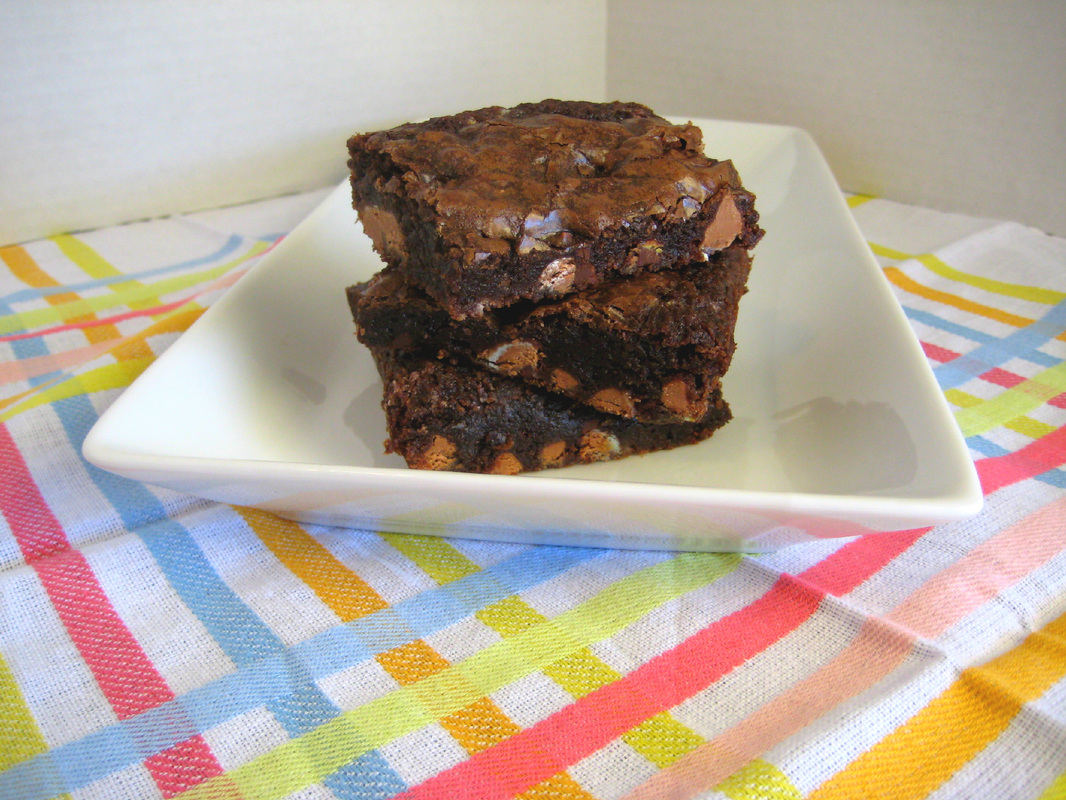
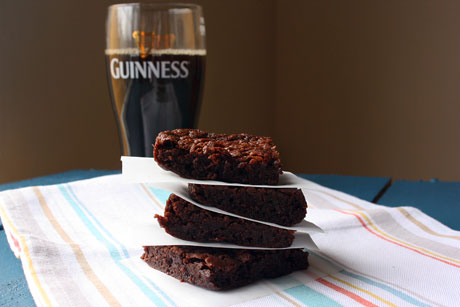
When we were in Dublin, we made our way to the Guinness factory (of course). We both were excited to do the tour, but my husband was about 1000 times more excited that I was. I'm not a big Guinness fan, but he loves it (even more so now). Since we went to the tour during my lunch break, I made sure to have some of their food, too. And one of the things I ordered was a Guinness brownie. Holy crap. I could not even eat the entire brownie because it was so rich. This.never.happens. I love rich brownies. This brownie was incredible. I can't say that my version is like theirs because I sadly don't remember fully. However, my version is pretty dang good. It is rich, it's extremely fudgy, and it has a faint taste of Guinness. You can taste it, but it's not overwhelming. And it's great, even if you aren't Guinness obsessed. So, make these brownies and celebrate your inner Irish until you can get over there!
The food, unfortunately, is not all that incredible. Irish breakfasts leave a lot of be desired. Every hotel we stayed at had the same breakfast, and by the end of our two weeks we just couldn't choke it down anymore (blood sausage anyone?). I had brought some homemade granola bars and crackers, and we would snack on those instead. Also, I learned that the land of potatoes equals the land of french fries. We got fries with everything. One day I was eating lunch by myself near the prison in Dublin (a tourist attraction by the way), and I ordered a piece of pizza at an Italian restaurant. When they brought it to my table, I was shocked to see it was half of an 8-inch pizza with a side salad and french fries. Mmmkay. I also learned that I am in no way a fan of Irish soda bread. You definitely won't see that recipe on here.
When we were in Dublin, we made our way to the Guinness factory (of course). We both were excited to do the tour, but my husband was about 1000 times more excited that I was. I'm not a big Guinness fan, but he loves it (even more so now). Since we went to the tour during my lunch break, I made sure to have some of their food, too. And one of the things I ordered was a Guinness brownie. Holy crap. I could not even eat the entire brownie because it was so rich. This.never.happens. I love rich brownies. This brownie was incredible. I can't say that my version is like theirs because I sadly don't remember fully. However, my version is pretty dang good. It is rich, it's extremely fudgy, and it has a faint taste of Guinness. You can taste it, but it's not overwhelming. And it's great, even if you aren't Guinness obsessed. So, make these brownies and celebrate your inner Irish until you can get over there!
Guinness Brownies Recipe
Makes a 9x9 pan
Print this recipe
6 ounces dark chocolate, chopped
1/2 cup butter
1/2 teaspoon instant espresso powder
3/4 cup sugar
1/4 cup brown sugar, packed
6 tablespoons Guinness
1 egg
1 teaspoon vanilla
1/2 teaspoon salt
1/2 cup plus 2 tablespoons flour
Preheat the oven to 350 degrees. Line a 9x9 pan with aluminum foil and grease it really well with cooking spray.
Combine the chocolate, butter, and espresso powder in a large microwave-safe bowl and melt in 30 second intervals, stirring in between. When it is melted, whisk in the sugars. Then whisk in the Guinness. Stir in the egg and vanilla until just incorporated. Whisk in the salt. Use a rubber spatula to fold in the flour until just combined. Pour the batter into your prepared pan and smooth the top.
Bake for 20-25 minutes until a toothpick inserted in the center comes out with a few crumbs sticking to it. Let cool completely in the pan before serving.
Adapted from Baked
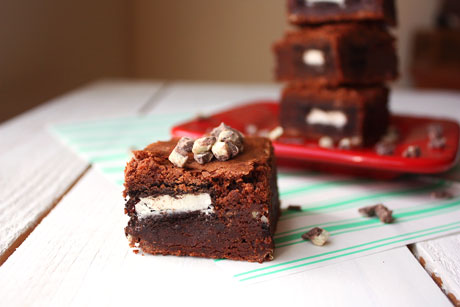
You may also like: