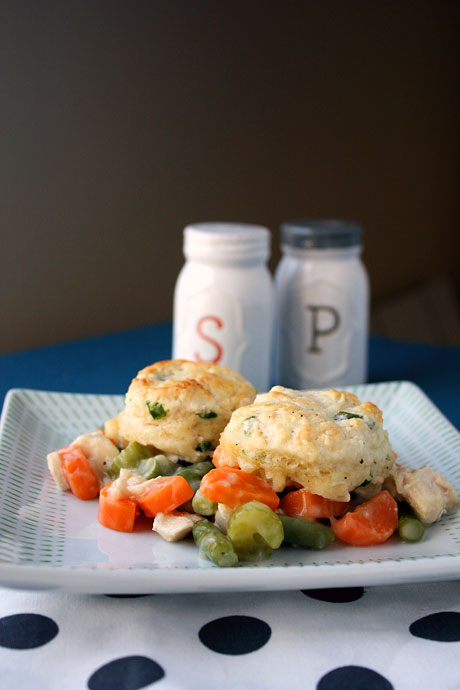

First of all, thanks to all of you who participated in my Facebook poll yesterday. Next week I am feeding 88 people, and I'm starting to get extremely nervous about it. Panicky nervous also would be a good description. Mainly because I have no idea how much food that should entail and I haven't figured out how to serve it yet. We are serving pasta with marinara, pesto, and Alfredo. Should I serve the sauces separate from the pasta or together? I know that I would love to see them separate, but what about what's easiest...and if I'm going to serve pesto as a real sauce, then I'd have to thin it out with something because it's not exactly a sauce that you should drown a pasta in. These are the questions that are swirling through my brain at an alarming rate...especially when I try to sleep.
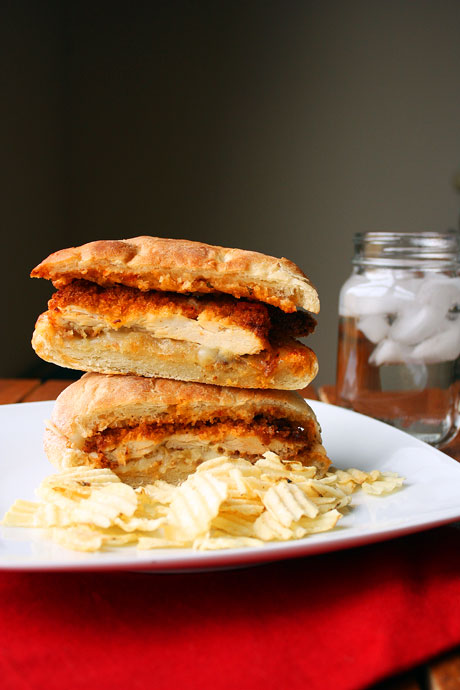
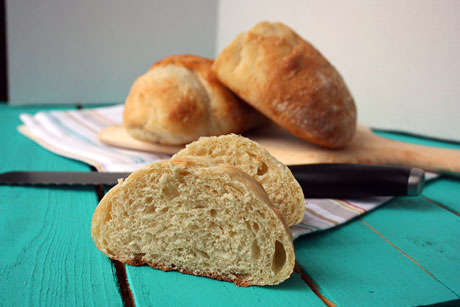
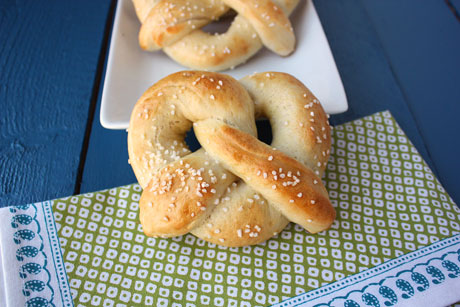
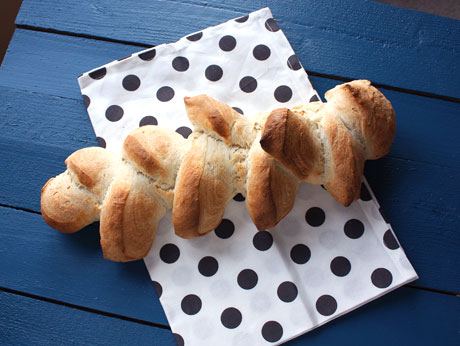
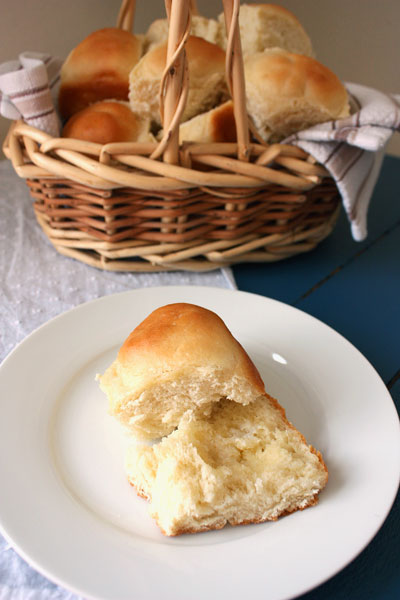
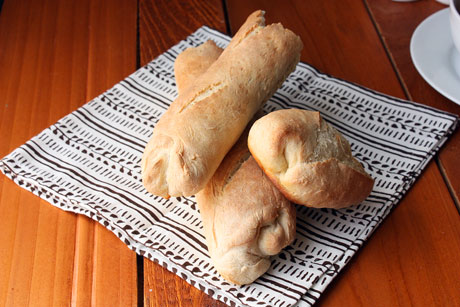
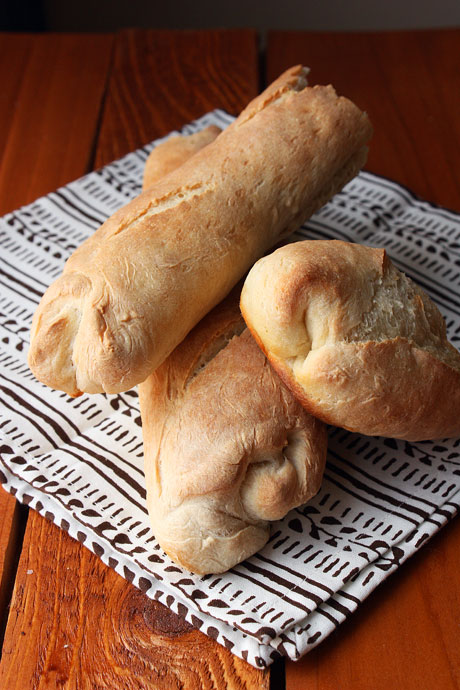
So here's where I should say that this bread calms me or that I'm serving it with this pasta next week. But, it doesn't and I'm not. I'm serving sourdough and ciabatta instead. That's not to say that this baguette isn't amazing. It's great. I love it. It's pretty easy to make your own baguettes, too. Just know that you'll never get a bakery-size baguette out of your own oven because your oven isn't that large. You'll want to put it on the biggest cookie sheet you have, and I usually angle it on the sheet so it can be even longer. Did I mention it's only four ingredients? That's right. Easy peasy. So you don't have to worry about it when you're trying to sleep. We all need some of that, right?
Baguette Recipe
Makes 4 loaves
Print this recipe
2 pounds bread flour (6 1/2 cups)
1 pound, 6 ounces warm water (2 1/2 cups)
1 tablespoon active dry yeast
1 tablespoon + 1 teaspoon salt
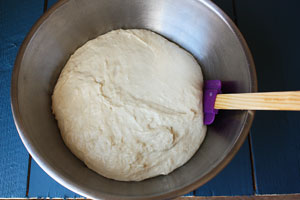
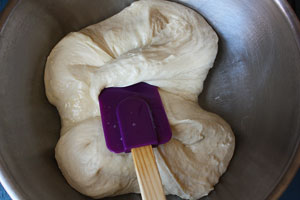
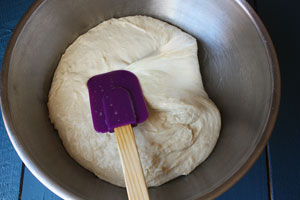
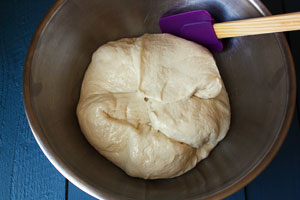
Dissolve the yeast in the water in the bowl of your mixer. Add in the flour and mix on low using the paddle until combined. Wait five minutes and then add the salt. Switch to the dough hook and mix on low until the dough is smooth and tacky (about 5-8 minutes). It should not stick to the sides of the bowl. Remove to a clean bowl that is sprayed with cooking spray. Cover and let rise for an hour or until doubled in size.
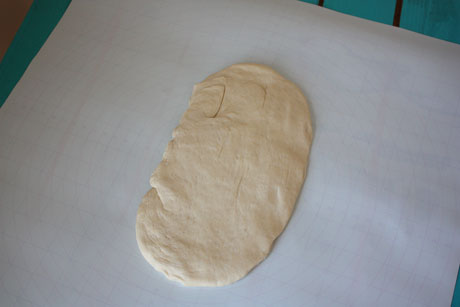
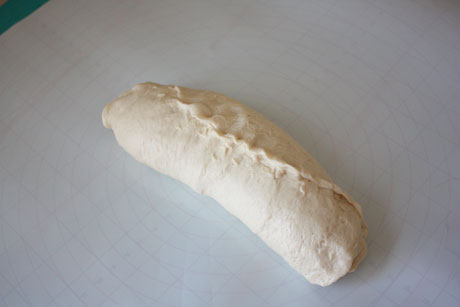
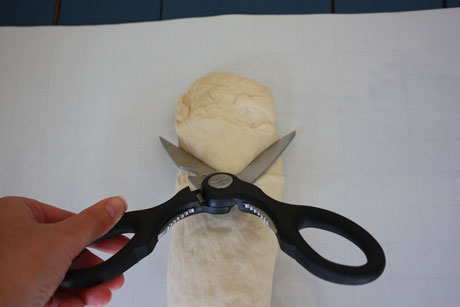
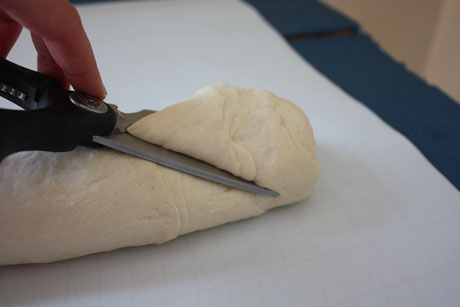
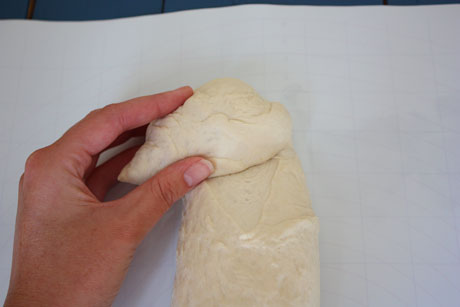
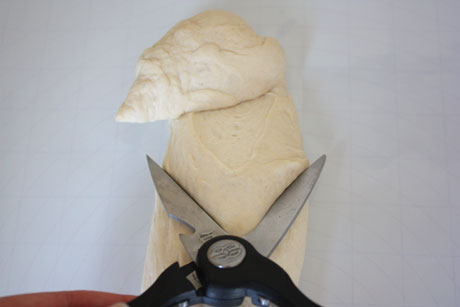
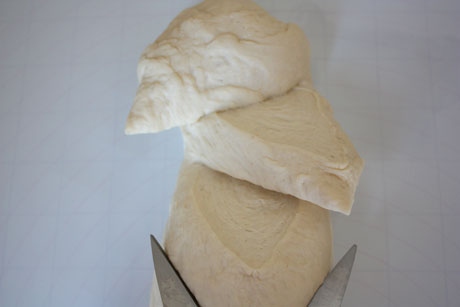
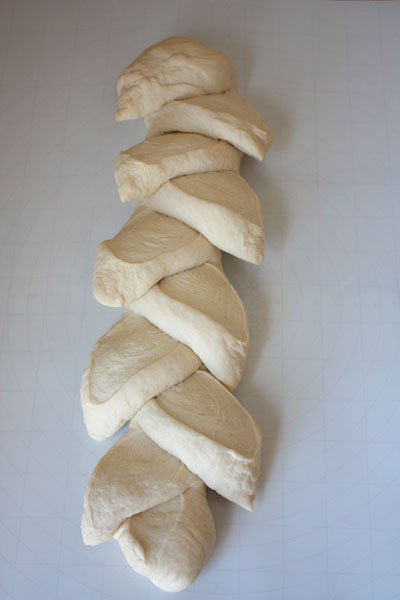
Once the dough has risen, divide it into four pieces. Preheat your oven to 500 degrees. Working one at a time, shape it into a rectangle. Start with the small side and tightly roll it up. Pinch the edges together and use your hands to rock or roll it out to make it as long as you can make it to fit on the baking sheet. Place the loaf on a large baking sheet lined with parchment paper.
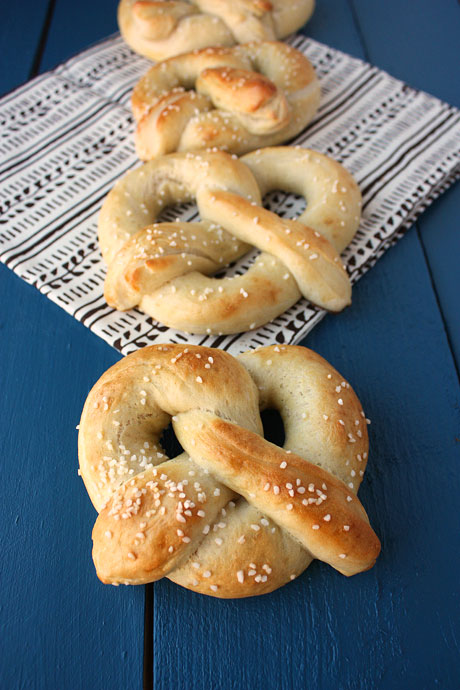
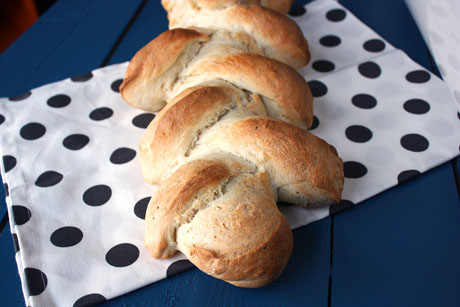
Bake at 500 degrees with plenty of steam in the first 10 minutes. I use a spray bottle filled with water to spray the oven walls and loaves to create steam. Be careful to not spray your oven window or it could shatter. Bake for about 15-20 minutes until the loaves are golden brown and sound hollow when tapped. Let them cool for about 30 minutes before you tear into them.
Source: Cook Street School of Culinary Arts
So here's where I should say that this bread calms me or that I'm serving it with this pasta next week. But, it doesn't and I'm not. I'm serving sourdough and ciabatta instead. That's not to say that this baguette isn't amazing. It's great. I love it. It's pretty easy to make your own baguettes, too. Just know that you'll never get a bakery-size baguette out of your own oven because your oven isn't that large. You'll want to put it on the biggest cookie sheet you have, and I usually angle it on the sheet so it can be even longer. Did I mention it's only four ingredients? That's right. Easy peasy. So you don't have to worry about it when you're trying to sleep. We all need some of that, right?
Baguette Recipe
Makes 4 loaves
Print this recipe
2 pounds bread flour (6 1/2 cups)
1 pound, 6 ounces warm water (2 1/2 cups)
1 tablespoon active dry yeast
1 tablespoon + 1 teaspoon salt
Dissolve the yeast in the water in the bowl of your mixer. Add in the flour and mix on low using the paddle until combined. Wait five minutes and then add the salt. Switch to the dough hook and mix on low until the dough is smooth and tacky (about 5-8 minutes). It should not stick to the sides of the bowl. Remove to a clean bowl that is sprayed with cooking spray. Cover and let rise for an hour or until doubled in size.
Once the dough has risen, divide it into four pieces. Preheat your oven to 500 degrees. Working one at a time, shape it into a rectangle. Start with the small side and tightly roll it up. Pinch the edges together and use your hands to rock or roll it out to make it as long as you can make it to fit on the baking sheet. Place the loaf on a large baking sheet lined with parchment paper.
Bake at 500 degrees with plenty of steam in the first 10 minutes. I use a spray bottle filled with water to spray the oven walls and loaves to create steam. Be careful to not spray your oven window or it could shatter. Bake for about 15-20 minutes until the loaves are golden brown and sound hollow when tapped. Let them cool for about 30 minutes before you tear into them.
Source: Cook Street School of Culinary Arts

You may also like: