She Makes and Bakes
  • Home
  • About
  • Ramblings
  • Recipe Index
  • What We're Eating
  • High-Altitude Baking

Rosemary Parmesan Wheat Thins

3/11/2013

 
Picture
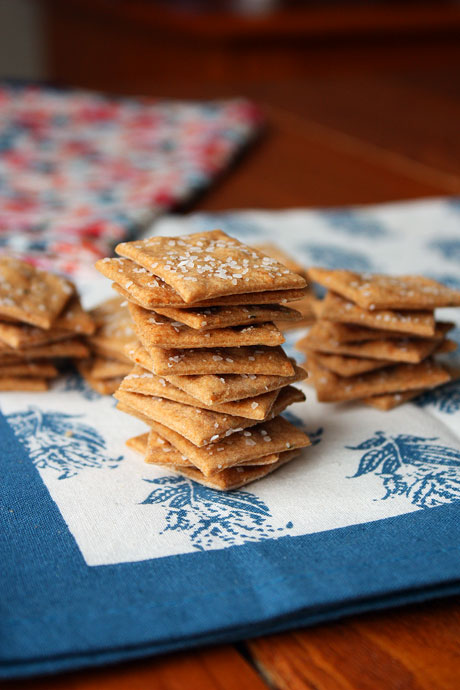
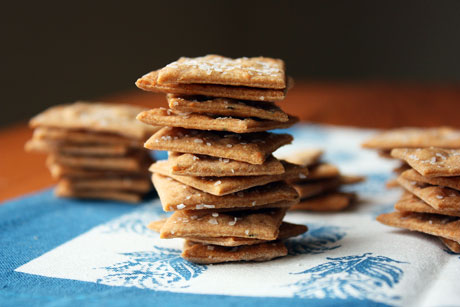
Do Wheat Thins come in a rosemary Parmesan flavor? If not, they should. Show of hands, when you hear wheat thins, do you automatically think of Stewie in the Family Guy Wheat Thins commercial? Whhheat Thins. Or is that just me? I swear. Every.time. Now that's good marketing!

I love making crackers because they're shockingly easy and extremely adaptable. I was in a rosemary mood, so I took Deb's recipe and added in some of that flavor. And since everything is better with cheese, I decided to add in some Parmesan, too. And it totally worked. You should ignore the amount of kosher salt I have on top of my crackers though. I love salty things, but this was a bit too much. I highly recommend you have a lighter hand with the salt shaker.

If you want a plain wheat cracker, you can leave out the rosemary and Parmesan with great results. Or you can substitute other herbs. Either way, these are bound to be a hit. Plus, you know exactly what's going in them!

Rosemary Parmesan Wheat Thins Recipe
Makes about 3 dozen
Print this recipe

1 1/4 cups whole wheat flour
1 1/2 tablespoons sugar
1/2 teaspoon table salt
1/4 teaspoon paprika
4 tablespoons cold butter
1/4 cup grated Parmesan cheese
1/2-1 teaspoon rosemary, minced
1/4 cup cold water
Kosher salt for sprinkling

In a food processor, pulse together the flour, sugar, salt, paprika, cheese, and up to 1 teaspoon rosemary (depending on how much you like rosemary) until combined. Cut the butter into small cubes and add it into the processor. Pulse until it is evenly combined into the flour mixture.  With the machine running, slowly add in the cold water until it forms into a ball. You may need to add another 1-2 tablespoons of water to get the dough to come together but it should not be a sticky dough. Once it's formed into a ball, remove it from the food processor and place on a well floured counter.

Preheat your oven to 400 degrees.

Divide the dough into two pieces and roll it out very thin. The thinner you can roll them, the better they are. Be sure that your dough isn't sticking on your counter, and add more flour if needed. Use a pastry wheel to cut the dough into 1 1/2 inch squares (it doesn't have to be perfect). I use a pastry wheel and a ruler, but I'm pretty OCD. Poke each cracker with a toothpick several times so they don't puff up when they bake. Sprinkle with kosher salt.

Transfer the crackers to a cookie sheet and leave a little bit of space between each one. Bake until crisp and brown about 5-7 minutes. Keep an eye on them because the time to bake correlates directly with how thick or thin they are. Cool before eating.

Adapted from Smitten Kitchen
Picture
You may also like:
Loading...

Polenta Crackers

9/13/2012

 
Picture
Have you checked out my new What We're Eating page? I've been pretty terrible lately about meal planning, so I figured I would be more motivated to do it if I posted it online. And then you guys get to share in the love with us. Maybe you'll get some good dinner ideas, too! I hate playing the what's for dinner game so check it out if you're curious or looking for ideas.

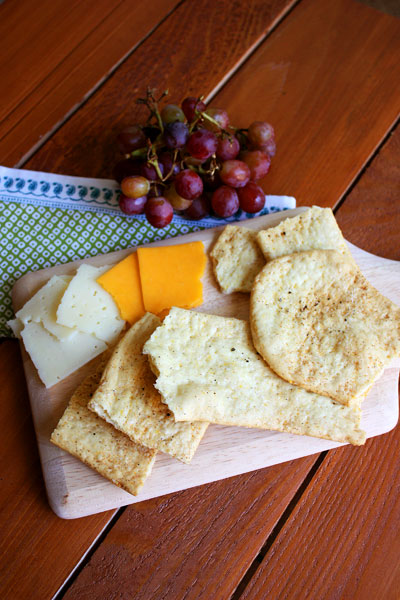
I first tried these polenta crackers last fall when I took a bread class, and I loved them. The polenta in them gives great flavor and texture, and you can sprinkle whatever seasonings you want on top of them. The original recipe calls for fennel, salt, and pepper. I'm not a fan of fennel so I use garlic powder, fresh cracked pepper, and lots of kosher salt.

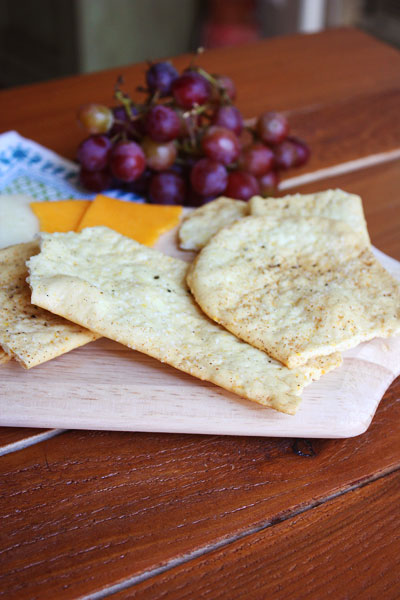
There is yeast in these crackers but it's really for the flavor. So if you're one of those people who are scared of yeast, don't worry. It's not meant to work as a leavener. The dough does rise but again, that's to develop the flavor. When I was taught to make these crackers, we rolled them using a pasta roller, which made it super easy. My pasta roller has settings 1-7. I started rolling it at 7 and went down to 3. You want to roll it thin but not too thin. If you don't have a pasta roller, I think you could hand roll it out just fine...it might just require a little more elbow grease. You also don't have to cut the crackers into the typical square shape, either. I roll the dough out with my pasta roller and leave it in that long thin shape. I just make sure that it fits on a pan. Once they're baked, I break them into large pieces. 

These crackers taste great with cheese but one of my favorite things is to make tuna salad and put that on top of them...instead of using bread in a sandwich. I love them plain, too. You can think about what you want to use them for and then adjust which seasonings you want on top of it. These are fun for a dinner party because you can place these large crackers on the table and let people break off how much they want. Rustic is a good thing!
 
Polenta Crackers Recipe
Print this recipe

1 tablespoon active dry yeast
1/4 cup olive oil
1 tablespoon honey
1 1/4 cups warm water
4 1/4 cups (20 ounces) bread flour
1/3 cup uncooked polenta
2 teaspoons salt
Cracked pepper
Kosher salt
Garlic powder or other spices

Mix honey, olive oil, water, and yeast in a mixing bowl and let sit for 5 minutes or until foamy. Add the bread flour, polenta, and salt and mix with the dough hook until thoroughly combined. It's a tough dough, but you'll know that it's well kneaded when you taste a pinch of dough and it doesn't taste really salty. Put the dough into an oiled bowl, cover, and let double in size.

Preheat your oven to 375 degrees. 

Divide the dough into smaller pieces and roll it out using a pasta roller or rolling pin. You'll want it to be fairly thin. Place the dough in large pieces on ungreased sheet pans. Brush with olive oil and sprinkle kosher salt, cracked pepper, and garlic powder (or other seasonings) liberally on top of the dough.

Bake for 15-20 minutes until the crackers are browned on top.

Source: Cook Street Cooking School
Picture

DIY Cheez Its

3/12/2012

 
Picture
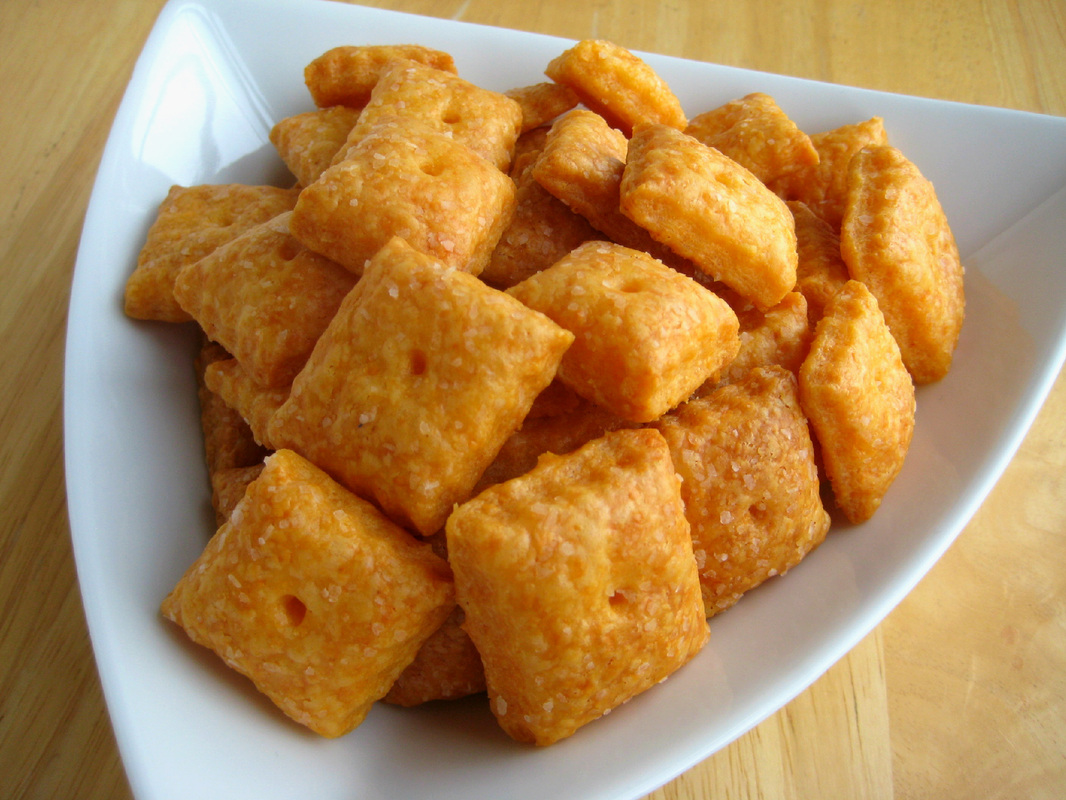
Do you ever get a craving for something but you know you could make it taste better? Or at least it would be fun to make it yourself? This is what happened with these crackers. My company buys snacks for the employees, and one day Cheez Its appeared. I saw them and thought, I can make those from scratch and probably make them taste better. I searched online for recipes and found a great one on In Katrina's Kitchen. I love making things myself instead of buying them, and this is a great one.

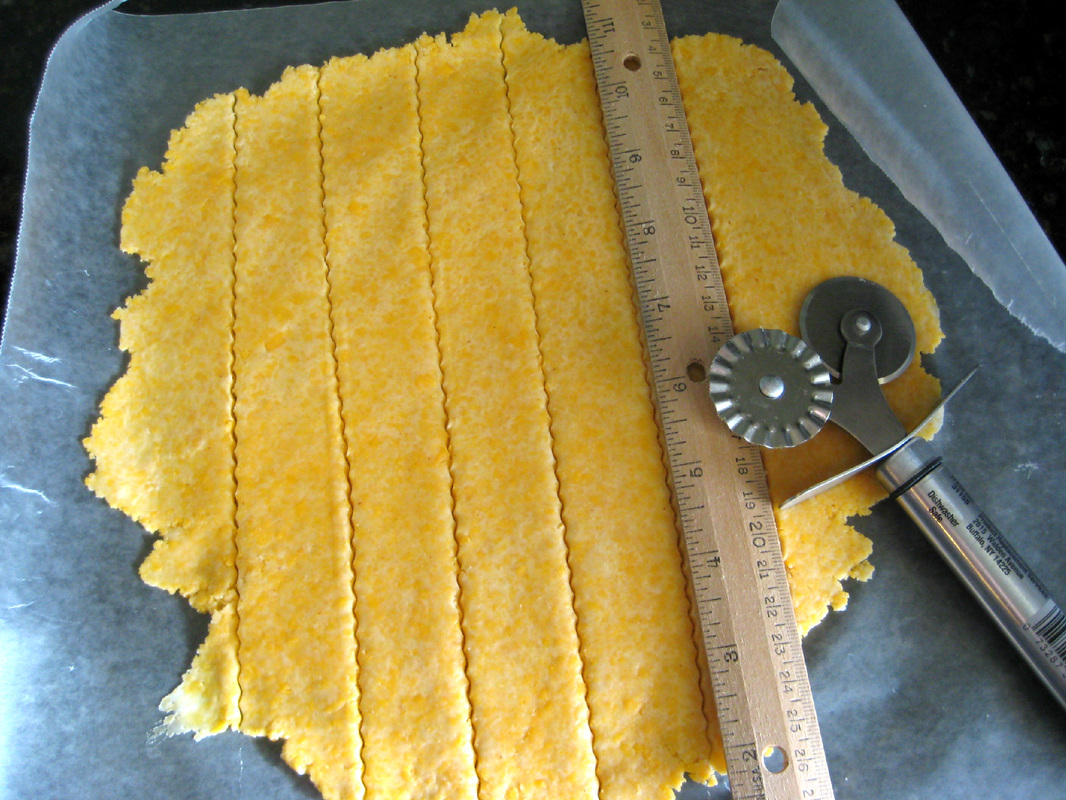
It's also easy. Instead of grating the cheese, I just cut it up into big chunks and let the food processor do the work. You could also make this in the mixer, but you'd have to grate the cheese first. After chilling the dough, you roll it out and start cutting.

First, make the lengthwise cuts. 
Picture
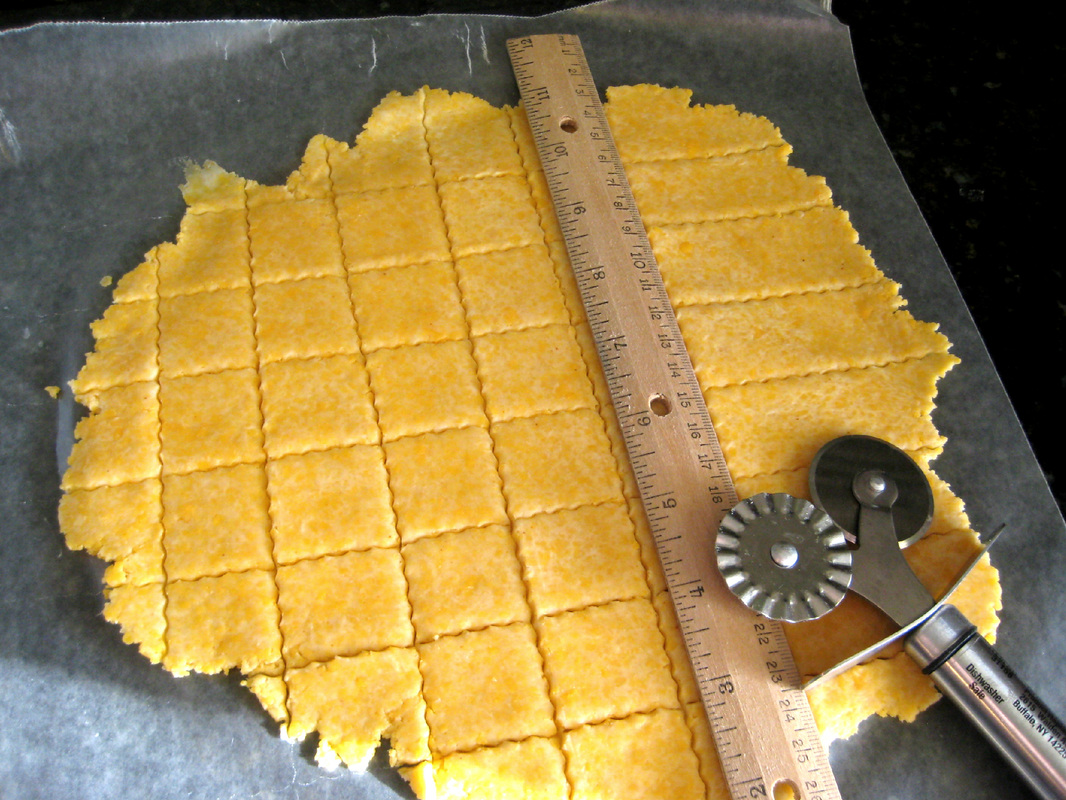
Then turn and repeat to make squares.
Picture
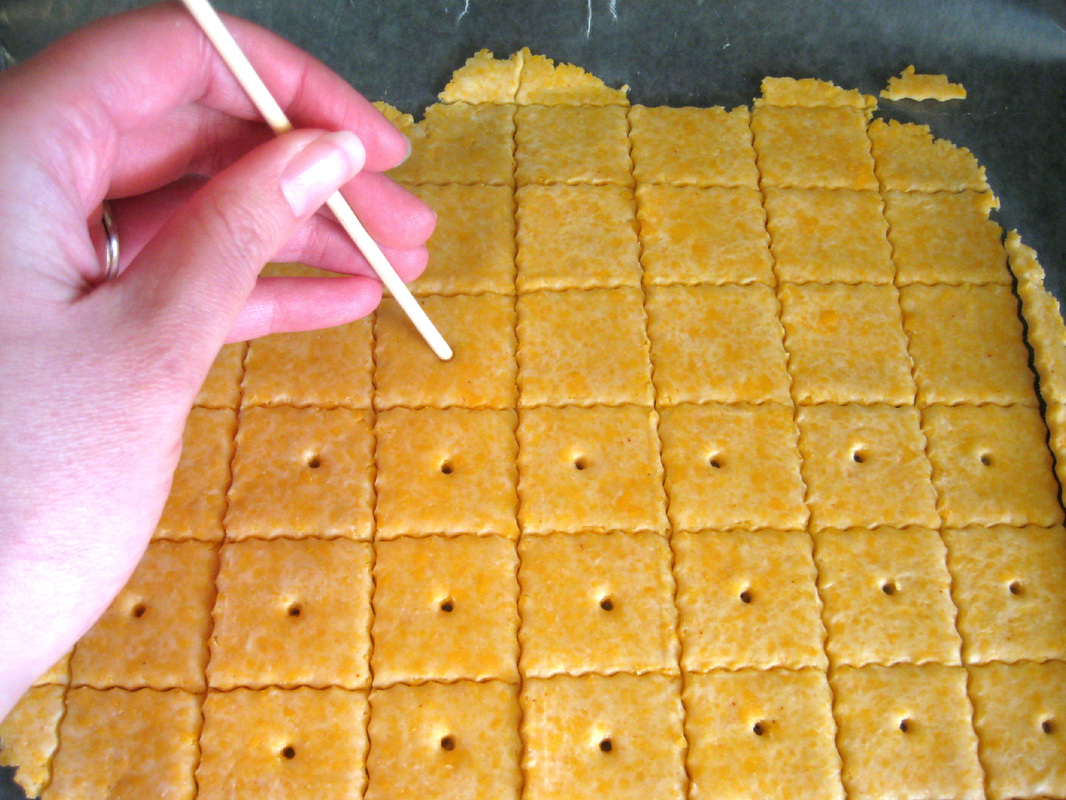
Use a toothpick or skewer to poke the holes. A toothpick didn't make the holes big enough, so I used a wooden skewer.
Picture
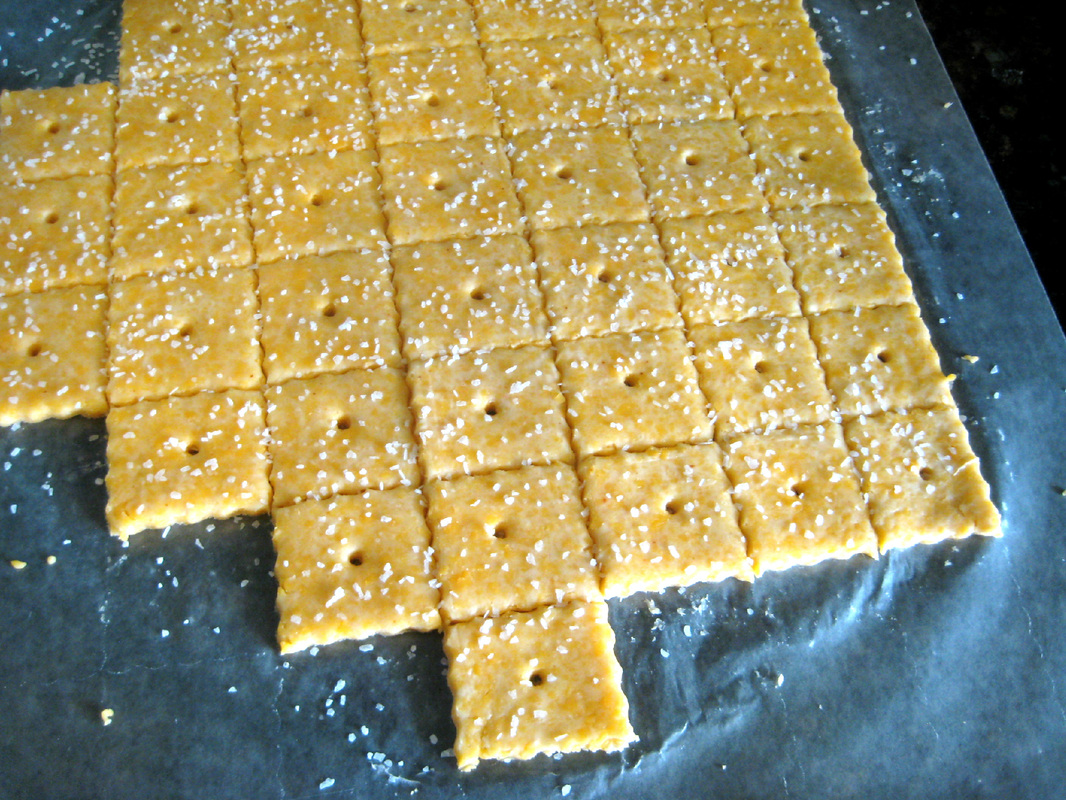
Then you add kosher salt (I like my crackers pretty salty).
Picture
And that's it. Separate the crackers, transfer to a baking sheet, and bake until golden brown. I found that in order to get the edges to stay ruffled, you need to have cold dough going into the oven. So either make sure it's cold before you roll it out and work fast or stick the baking sheets in the freezer for a few minutes before popping them in the oven.

Cheez Its
Print this recipe
8 ounces sharp cheddar cheese, cut into a few chunks 
3 tablespoons butter
1 tablespoon vegetable shortening
1/2 teaspoon salt 
Pinch cayenne pepper
1 cup flour 
2 tablespoons ice water 
Kosher salt for sprinkling

In a food processor, combine cheese, butter, shortening, salt, and cayenne pepper. Pulse until combined and add flour. Pulse until everything is broken down and looks like crumbs. Add in water and pulse until combined into a dough. (You may have to add a little more water but don't add too much. You don't want to the dough to be too wet.) Divide dough into two pieces, and wrap each in wax paper. Chill for at least 30 minutes.
 
Preheat the oven to 375 degrees. Roll the dough out on the wax paper until it's about 1/8 inch thick. Using a ruler and a pastry or pizza cutter, cut the dough into 1-inch squares (the ruler helps ensure that all crackers are the same size). Use a toothpick or skewer to punch a hole in the middle of the square. In addition to making it look like an authentic Cheez It, this also keeps the cracker from puffing up too much. Separate the squares and transfer to a baking sheet. You can put the crackers pretty close to each other as they don't spread very much during baking. Bake for about 20-25 minutes or until lightly browned. The more color they have, the more they will taste like a true Cheez It. Cool completely. The recipe makes about 100 crackers. I'm not sure how long they last because I always devour them within a couple of days!

Source: Adapted from In Katrina's Kitchen
Pin It

     Welcome!

    Cooking is fun and easy at high altitude, but baking can be frustrating. About 90% of my recipes work everywhere, but some are adjusted so us mountain dwellers can enjoy baked goods from scratch. I hope you find great recipes on here for your family, and I'll let you know if any are adjusted for high altitude. 

    Stay Updated!

    Add to your Reader:

    Get new posts delivered to your inbox:

    Enter your email address:

    Delivered by FeedBurner

    Categories

    All
    Appetizers
    Bars
    Beef
    Bread
    Breakfast
    Brownies
    Cake
    Cheese
    Chicken
    Chocolate
    Cinnamon
    Cookies
    Crackers
    Cupcakes
    Dessert
    Do It Yourself
    Drinks
    Fruit
    Ground Beef
    High Altitude
    How To
    Ice Cream
    Italian
    Main Courses
    Mexican
    Muffins
    Oatmeal
    Pasta
    Pastry
    Pie
    Pizza
    Pork
    Project Pastry Queen
    Pumpkin
    Salad
    Sauces
    Side Dishes
    Snacks
    Soup
    Sourdough
    Steak
    Vegetables

    My featured recipes on NoshOnIt

    Some Good Reads!

    Annie's Eats
    Bake at 350
    Climbing Grier Mountain
    Confections of a Foodie Bride
    How Sweet It Is
    I Am Baker
    Macaroni and Chesecake
    Pinch of Yum
    Pink Parsley
    Smells Like Home
    Smitten Kitchen
    Sunny Side Up
    The Curvy Carrot
    The Marvelous Misadventures of a Foodie
    The Pioneer Woman Cooks
All content copyright 2012-2013 She Makes and Bakes.