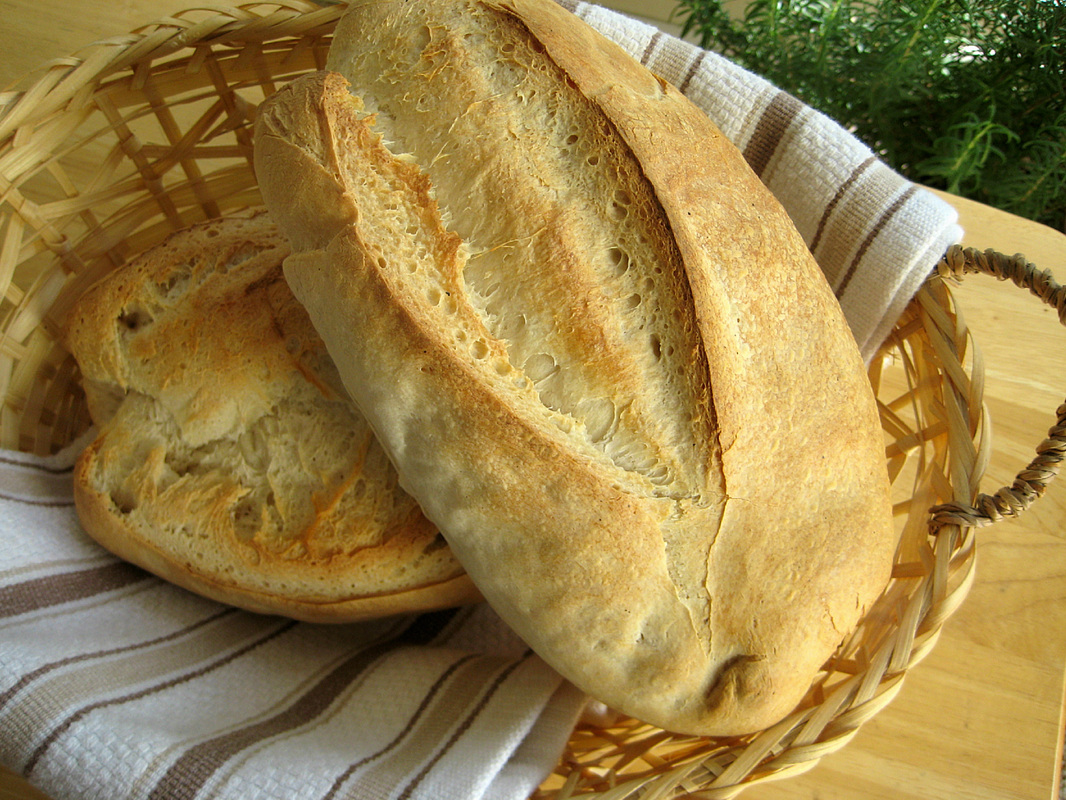
Although I had a great trip to New Orleans, both seeing and eating wonderful things, I was very happy to be back in my kitchen yesterday. And the first thing I did was make bread. I love making bread, and I love fresh bread for dinner. Not much else beats fresh bread.
I know that making bread can be intimidating to some people, but it's pretty easy once you get the hang of it. It's much easier if you have a stand mixer or a bread machine. I have both, and I much prefer the stand mixer. In fact, my bread machine is hanging out with the Christmas decorations and childhood stuffed animals in the crawl space. At least it has good company, right? But, if you don't have a stand mixer, use your bread machine on the dough setting. Let it do the hard work for you, and then you can shape it, let it proof, and bake it yourself. No one will be the wiser that you didn't do all of it yourself since it won't be a strange square-shaped loaf of bread. If you don't have a stand mixer or a bread machine, I hope you have some strong muscles.
In case you were wondering about some terminology (because I know that you care about this stuff), dough rises and loaves proof. Your dough will be fine if you let it rise all day; your loaves will not. If your loaves overrise, they will collapse in the oven, and you will be mad or upset (or both). But, if you know that your loaves have overproofed, you can punch (and by punch, I mean lightly press) them down, reshape them, and let them proof again before baking. I have done this and in fact did this with these in the picture. My plans changed, and the loaves sat on the counter for many hours. Whoops. They tasted great though, and no one knew that I almost had a bread fail.
One more important thing: when you're baking loaves of bread, you want to steam your oven. I found that the easiest way for me to do this was get a clean spray bottle and fill it water. When you put your proofed loaves in the oven, quickly spray the entire oven and your loaves with at least 10 sprays of water. Then repeat this in 3-5 minutes and again in another 3-5 minutes. This keeps the air in the oven nice and moist, and it will prevent the crust of the bread from baking too fast. Just be very careful to not spray the window on the oven door with water or it could break. Please, please be careful!! I can't afford to buy you guys new ovens!
Here's the amazing recipe for sourdough loaves, and I'll show you how to shape a loaf below. One amazing variation on this is to throw a bunch of fresh rosemary into the dough when you incorporate all the ingredients. It's so good!
Sourdough Loaves
Makes two 1-pound loaves
Print this recipe
6 oz (3/4 cup) sourdough starter
1 cup + 2 tablespoons warm water
1/2 tablespoon yeast
1 lb, 2 oz (3 1/4 cups + 2 tablespoons) bread flour
1/2 tablespoon + 3/4 teaspoon salt
In your mixing bowl, combine starter, water, and yeast. Mix with the paddle until combined. Add in the bread flour and mix on low until flour is hydrated. Turn off the mixer and let it sit for about 10 minutes. This gives the yeast a chance to work before the salt inhibits it. After ten minutes, add the salt, mix on low for about 30 seconds, and switch to the dough hook. Knead on low speed for about 5 minutes until the dough is smooth and satiny. Place into a greased bowl and let rise for an hour or two until doubled in size.
If you're using a bread machine, place the ingredients in the mixer according to the manufacturer's instructions, set it for the dough setting, and hit start.
Once your dough has risen, follow the instructions below to shape it into two loaves, place them on a silpat or parchment paper-lined sheet pan, cover loosely with plastic wrap, and proof at room temperature for about an hour until doubled in size. If you want them to have a stronger sourdough flavor, place these well-covered loaves in the fridge for 8-12 hours (no more than 24 hours). When you take them out of the fridge, remove the plastic wrap, and allow the dough to come to room temperature. Wait to bake until they're doubled in size. About 5 minutes before baking, quickly slash slits on the top of the bread using a sharp knife.
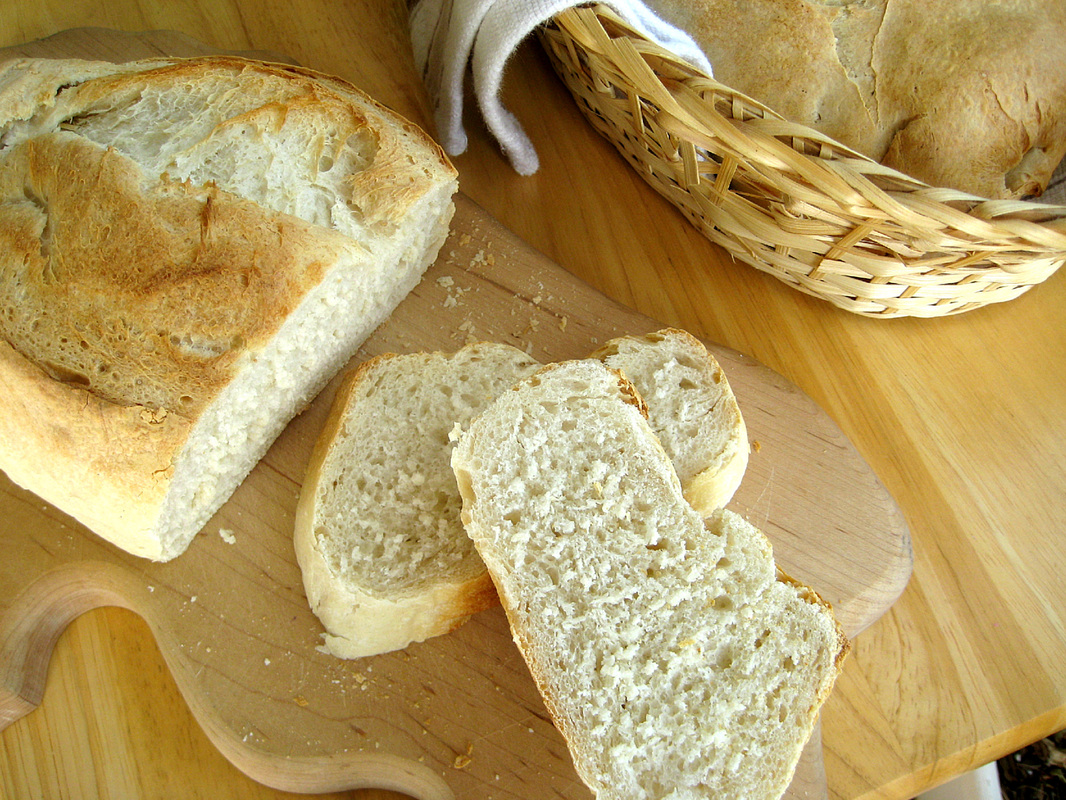
Bake at 500 degrees with plenty of steam in the first 10 minutes. Bake for about 20-25 minutes until the loaves are golden brown and sound hollow when tapped. Let them cool for about 30 minutes before you slice into them.
Here's how to shape your loaves:
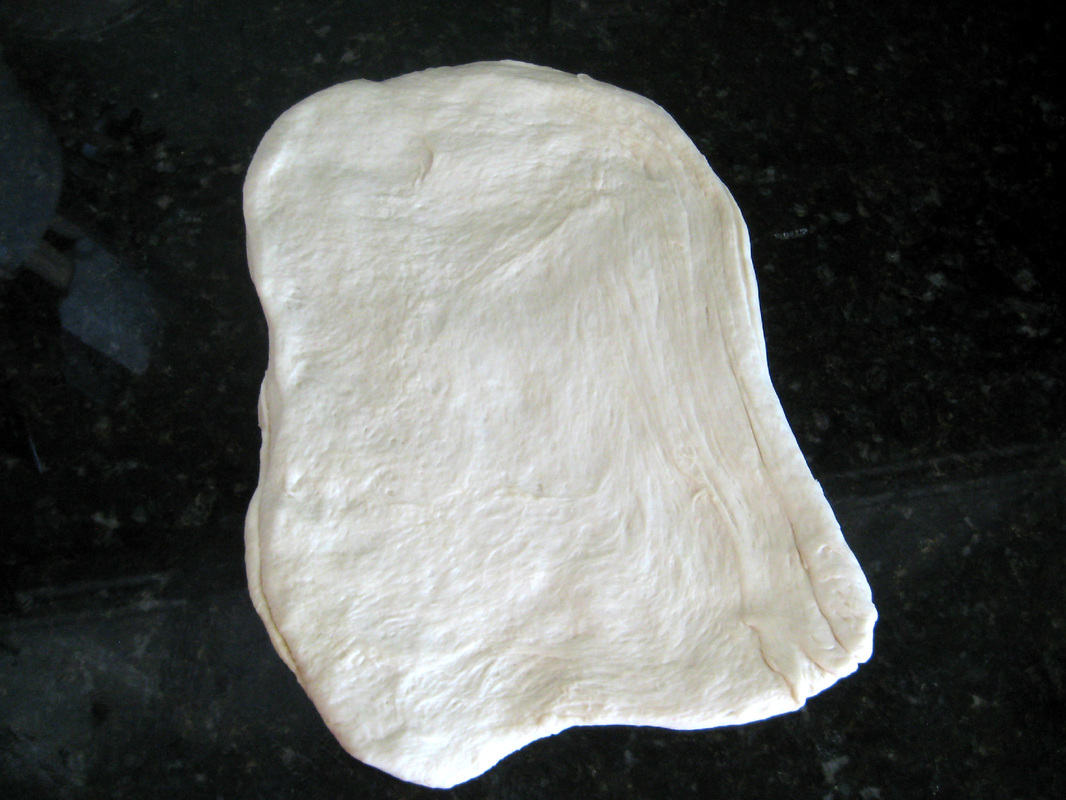
When your dough is done rising, split it into two equal pieces. Working with one at a time, spread it into a rectangle.
Makes two 1-pound loaves
Print this recipe
6 oz (3/4 cup) sourdough starter
1 cup + 2 tablespoons warm water
1/2 tablespoon yeast
1 lb, 2 oz (3 1/4 cups + 2 tablespoons) bread flour
1/2 tablespoon + 3/4 teaspoon salt
In your mixing bowl, combine starter, water, and yeast. Mix with the paddle until combined. Add in the bread flour and mix on low until flour is hydrated. Turn off the mixer and let it sit for about 10 minutes. This gives the yeast a chance to work before the salt inhibits it. After ten minutes, add the salt, mix on low for about 30 seconds, and switch to the dough hook. Knead on low speed for about 5 minutes until the dough is smooth and satiny. Place into a greased bowl and let rise for an hour or two until doubled in size.
If you're using a bread machine, place the ingredients in the mixer according to the manufacturer's instructions, set it for the dough setting, and hit start.
Once your dough has risen, follow the instructions below to shape it into two loaves, place them on a silpat or parchment paper-lined sheet pan, cover loosely with plastic wrap, and proof at room temperature for about an hour until doubled in size. If you want them to have a stronger sourdough flavor, place these well-covered loaves in the fridge for 8-12 hours (no more than 24 hours). When you take them out of the fridge, remove the plastic wrap, and allow the dough to come to room temperature. Wait to bake until they're doubled in size. About 5 minutes before baking, quickly slash slits on the top of the bread using a sharp knife.
Bake at 500 degrees with plenty of steam in the first 10 minutes. Bake for about 20-25 minutes until the loaves are golden brown and sound hollow when tapped. Let them cool for about 30 minutes before you slice into them.
Here's how to shape your loaves:
When your dough is done rising, split it into two equal pieces. Working with one at a time, spread it into a rectangle.
Starting with the small end, start to roll it up tightly. When you complete a roll, press down on it so you know it's tight. You will do this several times, and this will ensure that it will keep its shape.
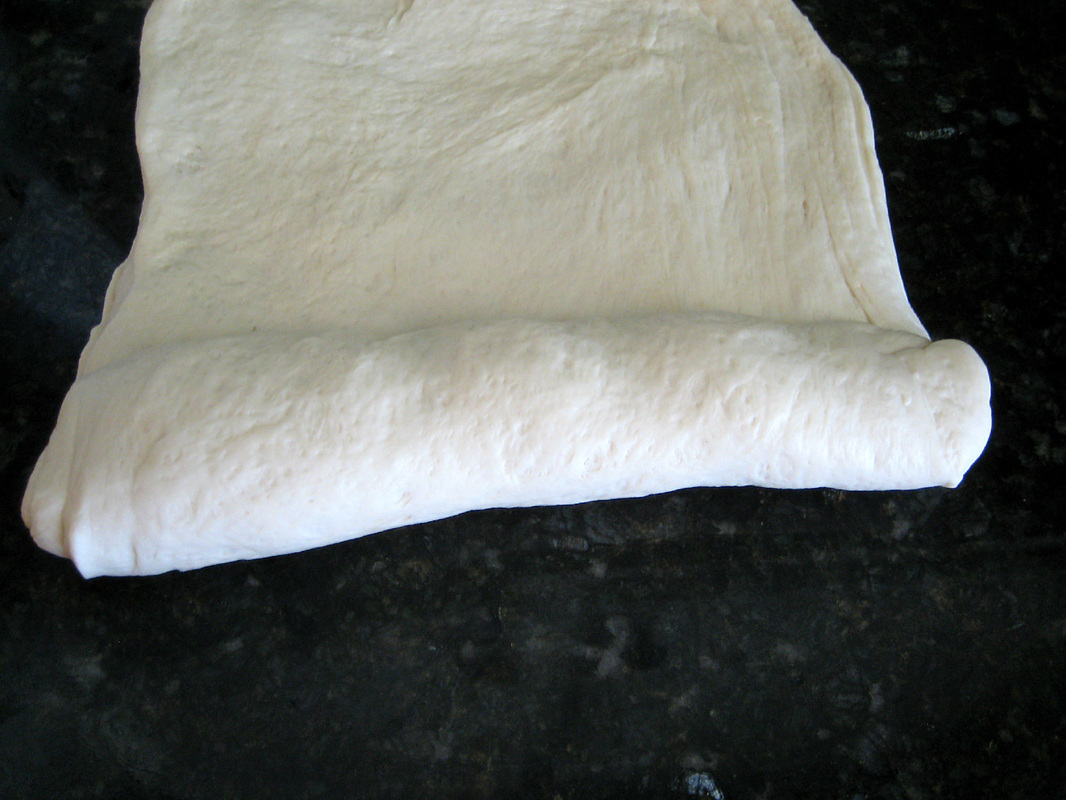
When you're finished rolling it up, pinch the seams together.
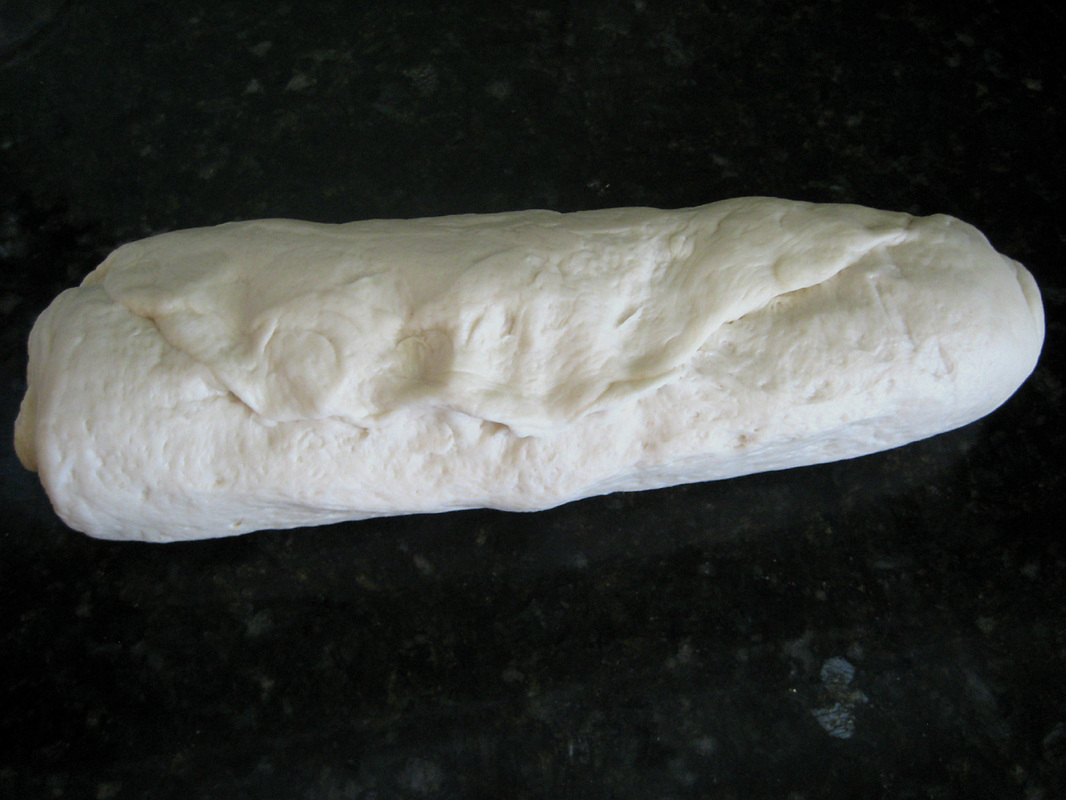
The final step is to roll or rock the dough with the seam side down to even it out. At this point, you can stretch it into a longer loaf, too. If you want the ends to be thinner than the middle, just stretch the ends out and taper them. This is what it should look like:

So pretty. Your next step is to put this on a silpat or parchment paper-lined sheet pan and let it proof. About five minutes before you put it in the oven, you'll want to quickly slash the top of it with a sharp knife. It helps to say slash while you do the motion because then you do it faster. You don't want to drag your knife through the bread--it will ruin the look of the bread and could deflate it. Don't skip the slashing or your bread will crack. Then you bake with steam and enjoy!
Source: Cook Street Cooking School
Source: Cook Street Cooking School
