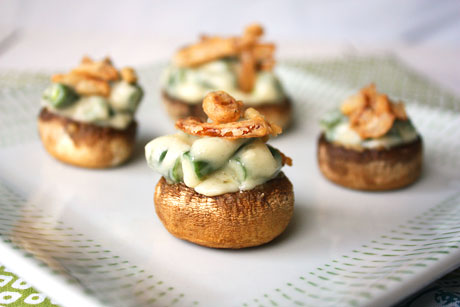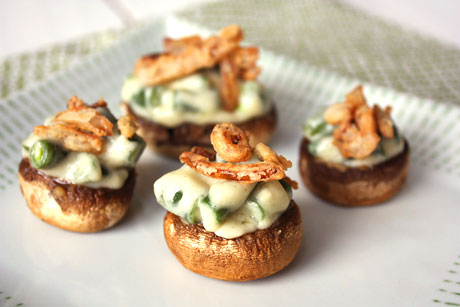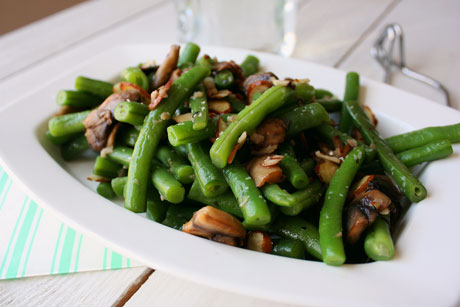

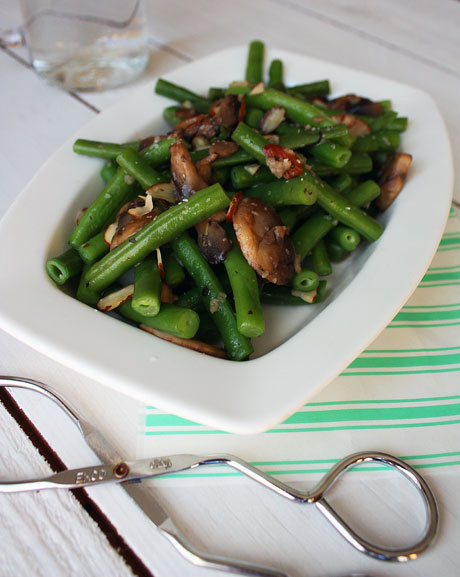
I feel like while all of you have been eating healthy things like salad, soups, and egg whites, I've been stuffing my face with pizza, wings, and cupcakes. Lots and lots of cupcakes. The last time I ate something green that wasn't tinted with food coloring (never a good sign) was too long to remember. Until now. I think green beans are a year-round vegetable because I don't really think they taste different in the winter than they do in the summer unless they come out of my own garden. I could be wrong or maybe I'm just desperate for anything fresh in the winter. So fresh green beans with mushrooms, garlic, and almonds are pretty fantastic right now (and at all times of the year)...not to mention healthy. Thank goodness. Maybe I can retire my fat pants if I eat enough of these and less pizza. Fingers crossed!
I have some fun news to share today. In 2012, I traveled to New Orleans, Ireland, and France for my previous job with a writer, Linda. Linda now is starting a free ezine and has asked me to be a part of it. It's going to be great. It comes out every month and will have articles/stories from yours truly, celebrity interviews, movie reviews, health and life coaching articles, book reviews, stories from a travel blog, and much more. The title of the ezine is perfect- Aurora: A Guide to Living in Color. Because nothing about your life should be ordinary. If you want to sign up to receive this ezine, you can send an email to [email protected] with the subject YES. The first issue comes out January 30th and will repeat each month. I hope you all sign up because it's going to be a lot of fun. And you can never get enough of me, right? Right? Crickets. Ok...I'm sick of me already. The other women involved are pretty amazing, so I'm excited to get it in my email every month!
So there you have it. Green beans and fun stories. Let's do it, shall we?
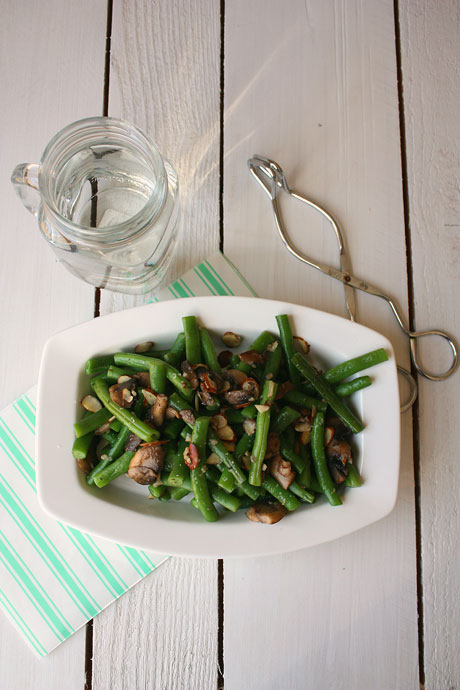
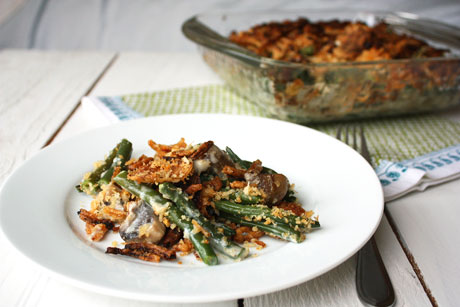
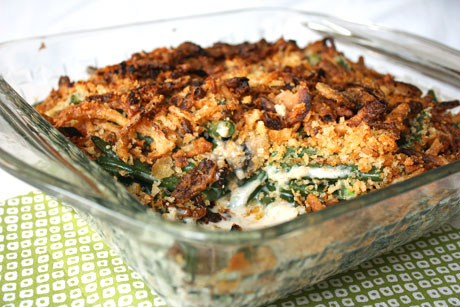
My Favorite Green Beans
Print this recipe
8 ounces of fresh green beans, ends trimmed and cut in half
1 tablespoon butter, divided
4 ounces mushrooms
1 garlic clove
2 tablespoons sliced almonds
Salt to taste
In a medium sauce pan, boil salted water. Add the green beans once the water is boiling and cook for about 7 minutes or until the green beans are cooked but still crunchy. Drain and plunge into ice water to stop them from cooking.
While the green beans are boiling, melt half of the butter in a large skillet over medium heat. Add the mushrooms and cook until they have released their liquid and are soft. Stir in the garlic and cook about 30 seconds until fragrant. Add the almonds.
Drain the green beans and add them to the mushroom mixture. Add the rest of the butter and season with the salt. Cook on medium until warm. Serve immediately.

You may also like: